FastAPI is a modern, fast, and high-performance web framework for building APIs and web applications. After coding and developing a FastAPI application on your personal computer, you will definitely want to put it on the internet so that the world can use and enjoy your masterpiece.
Deploying a FastAPI application on Ubuntu with Nginx and Let’s Encrypt can be a challenging task. However, with the right knowledge and expertise provided in this article, you can get a production application in a couple of hours. Without any further ado, let’s get started.
Live demo: By the end of the day, you will have a secure API (with https) with a real domain name like this: https://api.slingacademy.com.
Table of Contents
Prerequisites
Before deploying a FastAPI application on Ubuntu with Nginx and Let’s Encrypt, just make sure you have the following:
- A server with Ubuntu (version
20. x,21.x, or22.x) installed. You can easily get one for free or at a very low price from AWS Lightsail, Digital Ocean, Vultr, etc - Python 3.7 or newer
- A domain name that points to your server’s IP address
sudoaccess to your server via SSH
It’s important to notice that some commands have to be changed according to your system, such as domain name. Throughout this tutorial, we will use api.slingacademy.com to illustrate. Don’t forget to replace it with your own.
Setup FastAPI App
This section is all about setting up your FastAPI application on your actual server. To do this, you first need to create a directory to store your code. Do this by executing the following command:
mkdir /home/fastapi_example
cd /home/fastapi_example
Once you have created the directory, you need to set up a virtual environment. In Ubuntu, you have to install Python virtual environment package:
sudo apt update
sudo apt install python3-venv
The next move is to initialize and activate a virtual environment to run your code:
python3 -m venv venv
source venv/bin/activate
After that, we will add the required packages:
pip install fastapi uvicorn gunicornOnce you have installed the necessary packages, you need to create the application file. Run the command below:
sudo nano main.pyNow you can add your Python code to the main.py file:
# main.py
from fastapi import FastAPI

app = FastAPI()

@ app.get("/")
def read_root():
    return {
        "success": True,
        "message": "Welcome to Sling Academy Public API"
    }
Press Ctrl + X and then hit Enter to exit and save the file.
If you already have your code pushed to GitHub, you can pull your project to the fastapi_example directory:
git pull <your project repository URL>Then install all packages in your requirements.txt file:
pip install -r requirements.txtRun FastAPI using Gunicorn and Uvicorn
Gunicorn is a Python WSGI HTTP server that is designed to serve your FastAPI application.
To verify that everything is fine, run your temporary API with the following command inside the fastapi_example directory:
gunicorn main:app -k uvicorn.workers.UvicornWorkerOpen another terminal window and perform the command below:
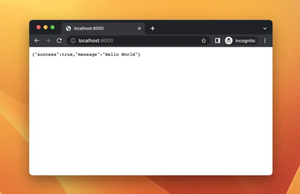
curl http://localhost:8000You should get this:
{"success":true,"message":"Welcome to Sling Academy Public API"}Press Ctrl + C to stop your temporary web server and move to the next step to run it again but in the production way.
Create a System Service to manage your FastAPI app
You should create a system service to manage your application. The benefits that this brings are that you can start, restart, and stop your application easily. Besides, your application will start automatically when the system reboots.
Still, in the fastapi_example directory, create a configuration file for Gunicorn:
sudo nano gunicorn_conf.pyThen paste the following code into it:
# gunicorn_conf.py
from multiprocessing import cpu_count

bind = "127.0.0.1:8000"

# Worker Options
workers = cpu_count() + 1
worker_class = 'uvicorn.workers.UvicornWorker'

# Logging Options
loglevel = 'debug'
accesslog = '/home/fastapi_example/access_log'
errorlog =  '/home/fastapi_example/error_log'
Save and exit the file. Now we have to create a systemd unit file in the /etc/systemd/system directory. Execute the following command to do so:
sudo nano /etc/systemd/system/fastapi_example.serviceOnce you have created the service, add the following content to it:
[Unit]

Description=Gunicorn Daemon for FastAPI example

After=network.target


[Service]

User=ubuntu

Group=www-data

WorkingDirectory=/home/fastapi_example

ExecStart=/home/fastapi_example/env/bin/gunicorn -c gunicorn_conf.py main:app


[Install]

WantedBy=multi-user.target
Press Ctrl + X, then hit Enter to save and exit the service file.
Start and enable (so that it will automatically start when your server reboots) the fastapi_example service:
sudo systemctl start fastapi_example
sudo systemctl enable fastapi_example
How do you check that it is working? Well, just run this command:
sudo systemctl status fastapi_exampleIf there are no problems, you will see this output:
● fastapi_example.service - Gunicorn Daemon for FastAPI example (FastAPI)
     Loaded: loaded (/etc/systemd/system/fastapi_example.service; enabled; vendor preset: enabled)
     Active: active (running) since Sat 2022-12-20 10:55:14 UTC;
   Main PID: 333886 (gunicorn)
      Tasks: 7 (limit: 4710)
     Memory: 146.4M
So far, we have successfully launched our FastAPI application with Gunicorn and Uvicorn. However, users cannot access it yet. In order for our API to communicate with the outside world, we need Nginx as a proxy server. Let’s move on to the next step.
Installing Nginx on Ubuntu
Nginx is a web server that is used to serve web pages and applications. To install Nginx on Ubuntu, perform the following command:
sudo apt install nginxOnce Nginx is installed, you need to start and enable it:
sudo systemctl start nginx
sudo systemctl enable nginx
Configure Nginx to Serve the FastAPI app
After Nginx is installed, you need to configure it to serve the FastAPI application. To do this, create a configuration file for your application in the /etc/nginx/sites-available/ directory. You can do this by running the following command:
sudo nano /etc/nginx/sites-available/api.slingacademy.comAdd this to the recently created file:
server {
        client_max_body_size 64M;
        listen 80;
        server_name api.slingacademy.com;

        location / {
                proxy_pass             http://127.0.0.1:8000;
                proxy_read_timeout     60;
                proxy_connect_timeout  60;
                proxy_redirect         off;

                # Allow the use of websockets
                proxy_http_version 1.1;
                proxy_set_header Upgrade $http_upgrade;
                proxy_set_header Connection 'upgrade';
                proxy_set_header Host $host;
                proxy_cache_bypass $http_upgrade;
        }

}
Save and exit the file (Ctrl + C, then Enter). Don’t forget to replace api.slingacademy.com with your own domain name.
Once you have added the content to the file, you need to enable the configuration file by adding a soft link of the file to the /etc/nginx/sites-enabled directory:
sudo ln -s /etc/nginx/sites-available/api.slingacademy.com /etc/nginx/sites-enabled/Now you need to restart Nginx to apply the changes. You can do this by running the following command:
sudo systemctl restart nginxYour API is now accessible from the internet, but it doesn’t meet the industry standard yet because https isn’t available. However, try to test your work by going to http://<your domain> with a web browser.
Obtain an SSL Certificate from Let’s Encrypt
This step is to obtain an SSL certificate from Let’s Encrypt. Let’s Encrypt is a free, automated, and open Certificate Authority. from Let’s Encrypt. First, you need to install certbot:
sudo apt install certbot python3-certbot-nginxThen obtain an SSL certificate by running:
sudo certbot --nginx -d api.slingacademy.comOnce you have obtained the SSL certificate, you need to restart (or reload) Nginx:
sudo sytemctl restart nginxNow go to https://<your domain> and you will see this:
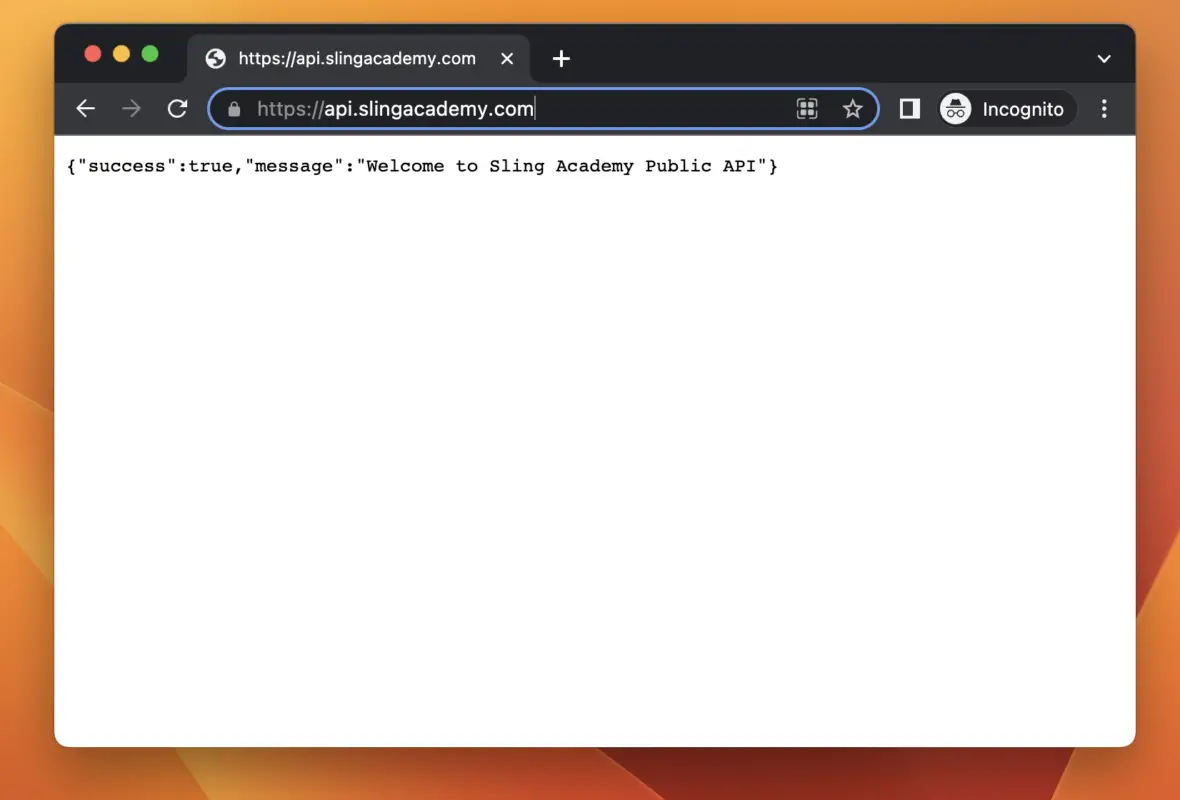
A little lock icon will sit right before your URL in the address bar.
Troubleshooting and debugging your FastAPI app
Deploying applications to production can be a challenging task. Sometimes, you may encounter errors or issues that need to be addressed. To troubleshoot and debug FastAPI deployments, you need to check the log files and the error messages.
- You can find the log files of Nginx in the
/var/log/nginxdirectory - The access log of your FastAPI app is at
/home/fastapi_example/access_log - The error log of your FastAPI can be found at
/home/fastapi_example/error_log
The log files and the error messages provide valuable information that can help you identify and solve problems.
Conclusion
This article has provided you with all the steps required to deploy a FastAPI application on Ubuntu with Nginx and Let’s Encrypt. We hope that you found it useful and can help you successfully deploy your FastAPI application.
If you have any questions related to this article, feel free to leave comments. We’re here to help!