A favicon of a web app is a small icon that serves as branding for the website. It is typically displayed at the top of a browser’s window, next to the page’s title, and also in the bookmarks list. This little thing helps users quickly identify your web app with others when they have multiple tabs opened or many bookmarked pages. It also adds to the overall branding consistency, and their absence might be seen as unprofessional.
This article shows you how to add a favicon (in general, the file extension of a favicon can be .ico or .png) into a Next.js project through a few easy steps. You’ll learn how to get the job done in both scenarios:
- Your project uses the
/appdirectory (Next.js 13 and later). - Your project uses the traditional
/pagesdirectory.
Step 1: Preparation
This step is the same for /app and /pages.
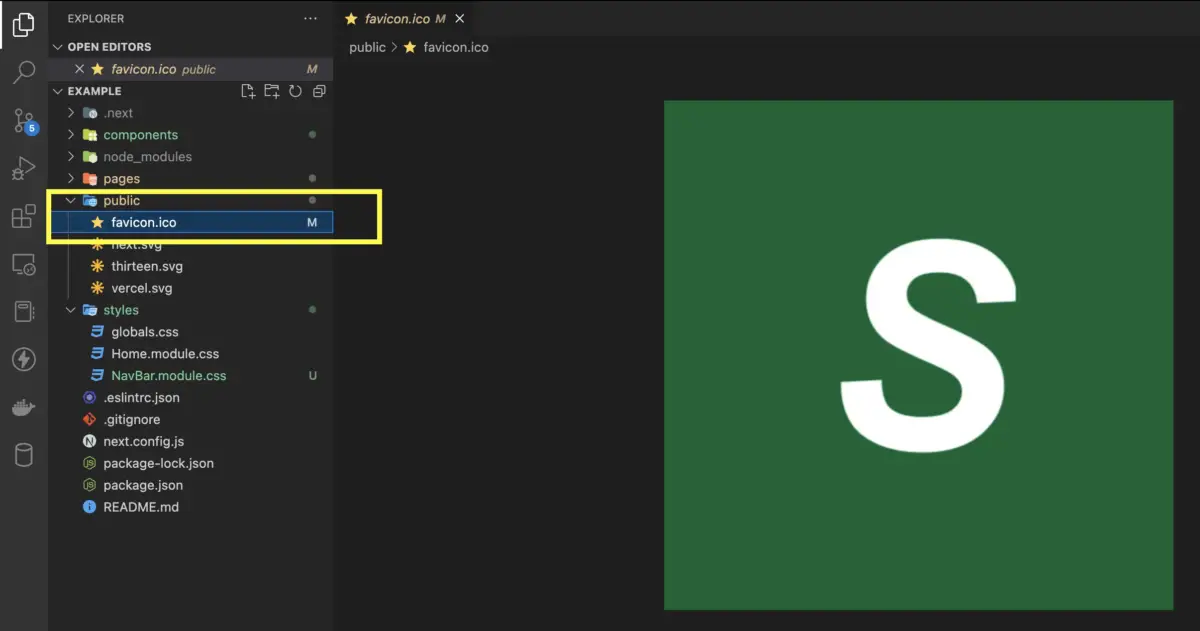
Copy your favicon file (my one named favicon.ico) to the public folder located in your project root directory (create one if it doesn’t exist). The default favicon will be overwritten.
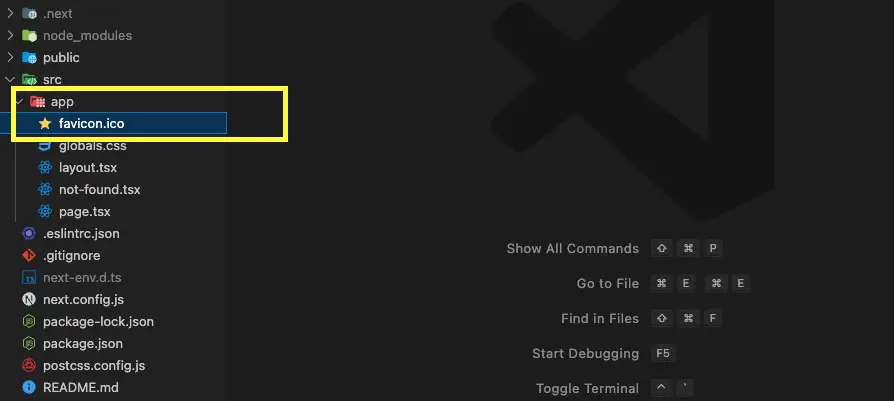
Note: If you chose to use App Router, you can also place your favicon file right in the /app directory (this is equivalent to storing your favicon in the /public directory):
Step 2: Link to the favicon file
Depending on which folder you are using to store your routes (page components), choose one (and only one) of the following two options.
For /app directory (Next.js 13+)
What you need to do is to link to your favicon file in your root layout file. If you’re using TypeScript, edit the app/layout.tsx file:
// app/layout.tsx

export default function RootLayout({
  children,
}: {
  children: React.ReactNode;
}) {
  return (
    <html lang='en'>
      {/* add this */}
      <head>
        <link rel='icon' href='/favicon.ico'/>
      </head>

      <body>{children}</body>
    </html>
  );
}
If you’re using JavaScript, the root layout file will be app/layout.js:
// app/layout.js
export default function RootLayout({ children }) {
return (
<html lang='en'>
{/* add this */}
<head>
<link rel='icon' href='/favicon.ico' />
</head>
<body>{children}</body>
</html>
);
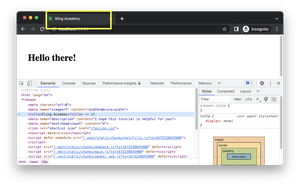
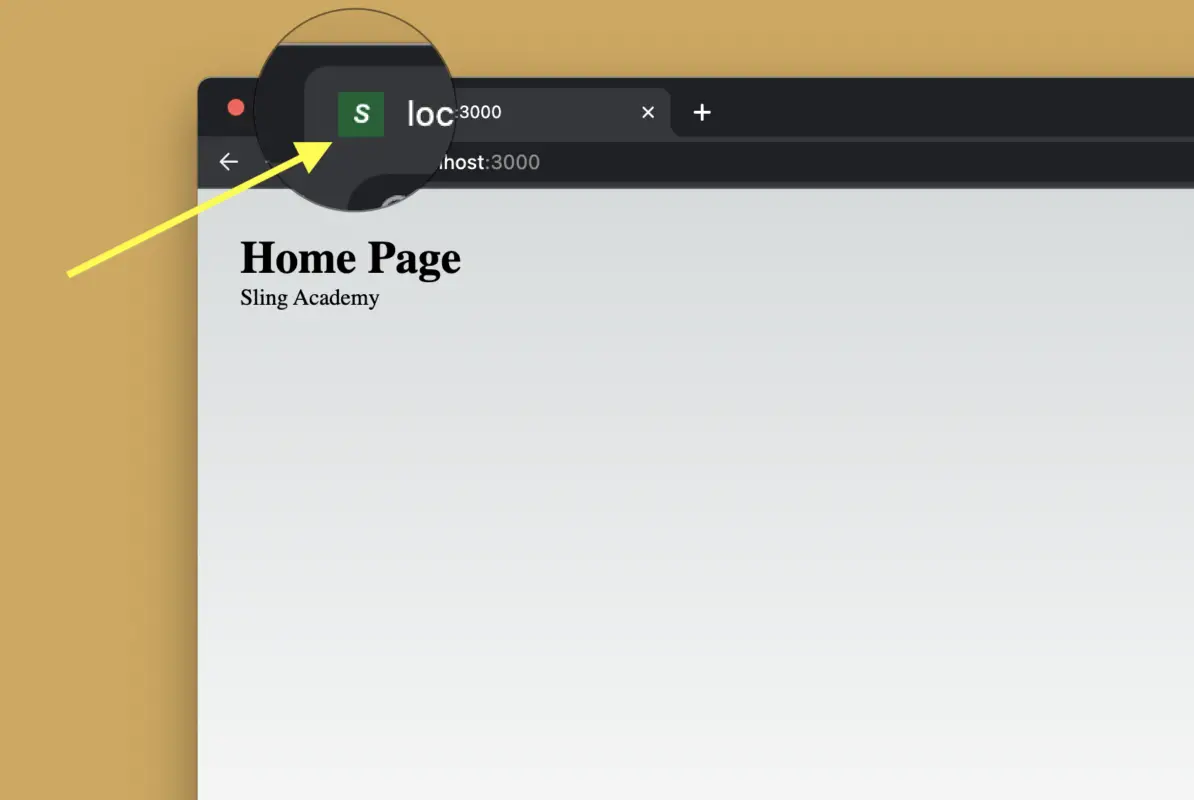
}The result (you will see my favicon is a white S in the center of a green square):
For /pages directory
Edit your pages/_app.js file (create one if it doesn’t exist):
import '../styles/globals.css'

// import the Head component for appending elements to the head of the page
import Head from "next/head";

function MyApp({ Component, pageProps }) {
  return (
    <>
      {/* Add the favicon */}
      <Head>
        <link rel="shortcut icon" href="/favicon.ico" />
      </Head>
      {/* Add the favicon */}
      {/* Note that the path doesn't include "public" */}

      <Component {...pageProps} />
    </>
  );
}

export default MyApp;
If you don’t like to touch the pages/_app.js file, you can set up the favicon in the pages/_document.js file as well (create one if it doesn’t exist yet):
import { Html, Head, Main, NextScript } from 'next/document';

export default function Document() {
  return (
    <Html lang='en'>
      <Head>
        <link rel='shortcut icon' href='/favicon.ico' />
      </Head>
      <body>
        <Main />
        <NextScript />
      </body>
    </Html>
  );
}
Done!
Conclusion
Setting up a favicon in Next.js can be done in just a couple of minutes, but the value of this work is significant. If you find errors or outdated content in the tutorial, please let me know by leaving a comment. I’ll recheck and update it as necessary. Happy coding & have a nice day!