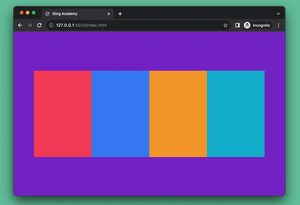
On many modern websites, there are usually one or several hero images. These are large photos and often take up space at the top of the page. The purpose of hero images is to highlight the website’s purpose in a concise way. The example below shows you how to create a typical hero image (with some text and a button in the foreground) by using Tailwind CSS.
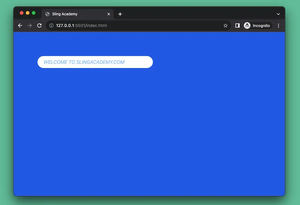
Screenshot:

The code:
<body>
    <header
        class="w-full h-96 bg-[url('https://www.slingacademy.com/wp-content/uploads/2022/10/hero-image-example.webp')] bg-cover bg-center flex justify-center items-center">
        <div class="flex flex-col justify-center items-center">
            <h1 class=" text-center text-5xl text-white font-bold drop-shadow-lg">WELCOME TO
                <span class="text-amber-500">SLING ACADEMY</span>
            </h1>
            <p class="mt-5 text-center text-lg text-white opacity-70">This webiste is about programming and things like
                that</p>
            <a class="mt-8 px-12 py-3 bg-gradient-to-r from-amber-500 to-red-600 hover:from-amber-600 hover:to-red-700 text-xl text-white/70 font-semibold drop-shadow-lg rounded-full"
                href="#">Get Started</a>
        </div>
    </header>
    <div class="container p-20">
        <h1 class="text-4xl">Other Content</h1>
    </div>
</body>
That’s it. Happy coding & have fun with Tailwind CSS.