When developing web apps with Next.js, there might be cases where you want to import and use local images instead of network images, such as logos, placeholders, download buttons, background images, etc.
The best place to store local images is the public folder (and its subfolders) in the root directory of your project. You can import an image from that place into your page or component like so:
import someImage from '../public/some-path.jpg'Don’t use await import() or require() because they are not supported. The import must be static so it can be analyzed at build time.
Then display it with the next/image component:
// Import Image component
import Image from 'next/image'

// Import your image
import someImage from '../public/some-image.jpg'

export default function MyComponent() {
  return (
    <div>
      // Use Image component with required props
      <Image src={someImage} alt="Some text" />
    </div>
  )
}
In this case, the props width, height, and fill are not required because Next.js can automatically determine the width and height of your image based on the imported file.
To keep your project well organized, you should create a subfolder named images or assets (just popular convention names, not mandatory) inside the public folder to hold the images.
Complete Example
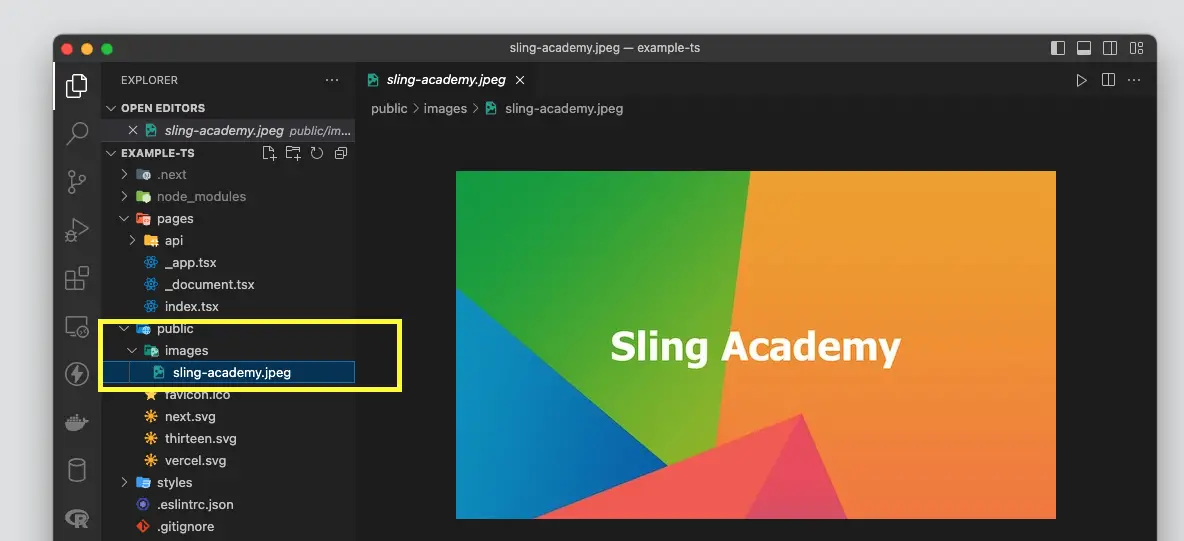
In this example, I will load an image named sling-academy.jpeg in my public/images directory:
Then display it with this code:
// pages/index.tsx
import Image from 'next/image';
import myImage from '../public/images/sling-academy.jpeg';
export default function Home() {
return <div style={{padding: 30}}>
<h1 style={{marginBottom: 30}}>Welcome to Sling Academy</h1>
<Image src={myImage} alt="Sling Academy" />
</div>;
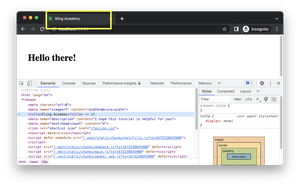
}Result:

That’s it. Happy coding & have a nice day!