In a FastAPI web application, you can do some work in the background without blocking the main thread or the response to the client. This is useful for tasks that take a long time to complete but are not essential for the client to receive a response. For instance, sending an email notification, processing some data, or updating a database.
This comprehensive article will walk you through a couple of different ways to implement background tasks in FastAPI. Let’s begin!
Using BackgroundTasks
This is the simplest and most recommended way to run background tasks in FastAPI. You just need to import BackgroundTasks from fastapi, and declare a parameter of type BackgroundTasks in your path operation function. Then you can use the add_task() method to register a task function that will be executed in the background after returning the response.
Example (with explanations):
from fastapi import BackgroundTasks, FastAPI
import asyncio

app = FastAPI()


# This function mimics sending an email
# That will be run in the background
async def send_email(to: str, subject: str, body: str):
    # Simulate a slow operation
    await asyncio.sleep(10)

    # Send the email using some library
    print(f"Email sent to {to} with subject {subject}")


@app.post("/")
async def send_email_endpoint(email: str, background_tasks: BackgroundTasks):
    # Register the task function with the email argument
    background_tasks.add_task(
        send_email, email, "Hi There", "Welcome to Sling Academy!"
    )

    # Return a response without waiting for the task to finish
    return {"message": "Email sent in the background"}
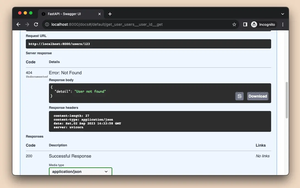
You can easily test the code with the built-in Swagger UI docs (and don’t forget to check your terminal to see the print):
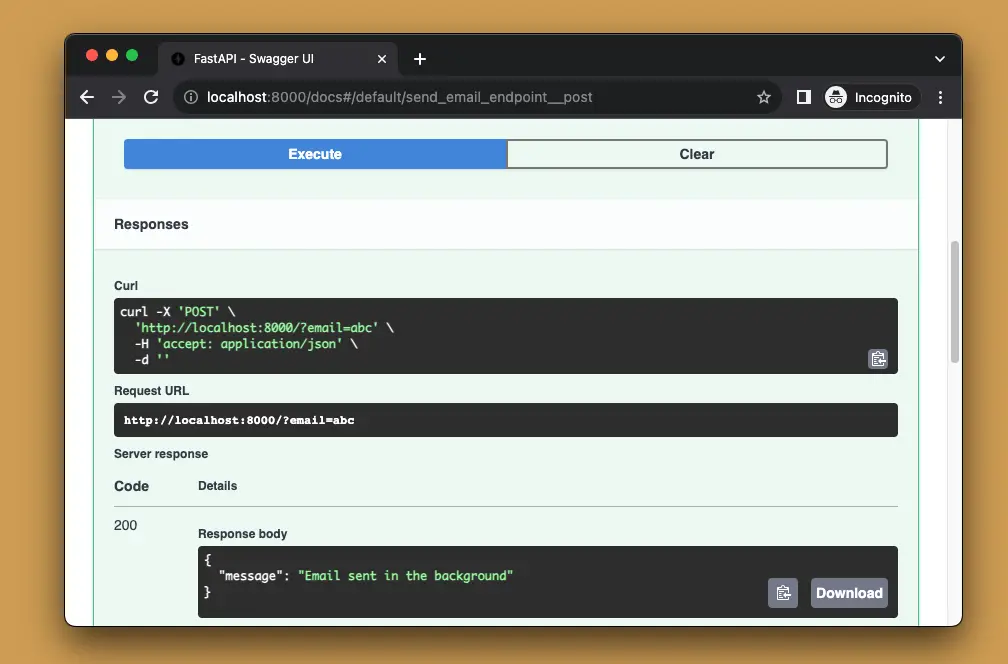
This solution is neat and works well for lightweight stuff. However, it is not very scalable and reliable for heavy or long-running tasks. In addition, there is no way to monitor or cancel the tasks.
Using Celery (Advanced)
This is a more advanced and robust way to perform tasks in the background in FastAPI, using Celery, which is a distributed task queue system. Celery allows you to define and execute tasks asynchronously, using workers that can run on different machines or processes. Celery also provides features such as retries, results, monitoring, scheduling, and more.
To implement this solution, follow the steps listed below:
- Install Celery (by running
pip install celery) and a broker service, such as Redis or RabbitMQ, which will be used to communicate between the main application and the workers. - Create a Celery app instance and configure it with the broker URL and other options.
- Define your task functions using the
@celery.taskdecorator, and use thedelay()orapply_async()methods to enqueue them for execution by the workers. - Run your FastAPI app as usual, and also run one or more Celery workers in separate terminals or processes, using the celery worker command.
- Return a response as usual, without waiting for the task function to finish. Optionally, you can return the task ID or result object, which can be used to check the status or retrieve the result of the task later.
In the example below, we’ll use Celery with Redis. If you don’t have Redis installed on your computer yet, please see its official documentation first.
Example:
# SlingAcademy.com
# main.py

from fastapi import FastAPI
from celery import Celery

# Create a Celery app instance
# Make sure you have a Redis server running on localhost:6379
celery = Celery("app", broker="redis://localhost:6379/0")


# Define a task function using the decorator
@celery.task
def send_email(to: str, subject: str, body: str):
    # Simulate a slow, blocking operation like processing some big attachment files
    import time

    time.sleep(10)

    # Mock sending an email
    print(f"Email sent to {to} with subject {subject}")


# Create a FastAPI app instance
app = FastAPI()


@app.post("/send-email")
async def send_email_endpoint(email: str):
    # Enqueue the task function for execution by the workers
    task = send_email.delay(email, "Sling Academy", "This is a test email")

    # Return a response without waiting for the task to finish
    return {"message": "Email sent in the background", "task_id": task.id}
This approach is reliable for burdensome duties. It works well for both CPU-bound and IO-bound jobs. Celery also provides many features and options for managing and monitoring tasks. However, there are some trade-offs:
- Requires installing and configuring additional dependencies and services.
- More complex and verbose to use and understand, especially if you are new to backend development.
You can learn more about Celery on its official website. This tutorial ends here. Happy coding & enjoy your day!
