If you’re using VS Code (Visual Studio Code), then you can run a Python code file by performing the following command in your terminal window:
python3 my_file.pyHowever, it is possible to execute a code file just by hitting a button with your mouse by using an extension name Code Runner. After installing the extension, you will see a play button with a triangle shape in the top right corner of your window:
However, if you’re trying to execute a Python script in a virtual environment (venv, conda, pipenv, etc) with Code Runner, you will run into an error. The error messages can vary but are usually the following:
ModuleNotFoundError: No module named 'example'Or:
/bin/sh: python: command not foundThe reason is that Code Runner runs before VS Code initializes the virtual environment. Don’t worry. We have a working solution for this problem, which isn’t hard to follow.
The Solution
This solution solves the issue on both Windows and Mac.
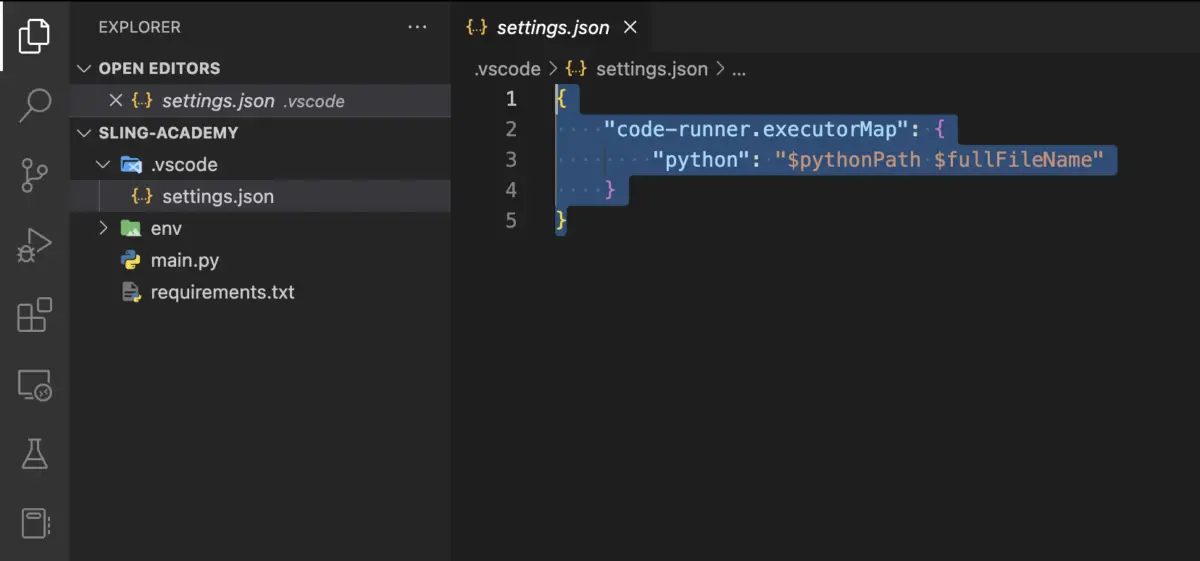
1. In the root directory of your project, create a new folder named .vscode, and inside this folder, add a new file name settings.json. Copy the following and paste it into your settings.json:
{
    "code-runner.executorMap": {
        "python": "$pythonPath $fullFileName"
    }
}
Screenshot:
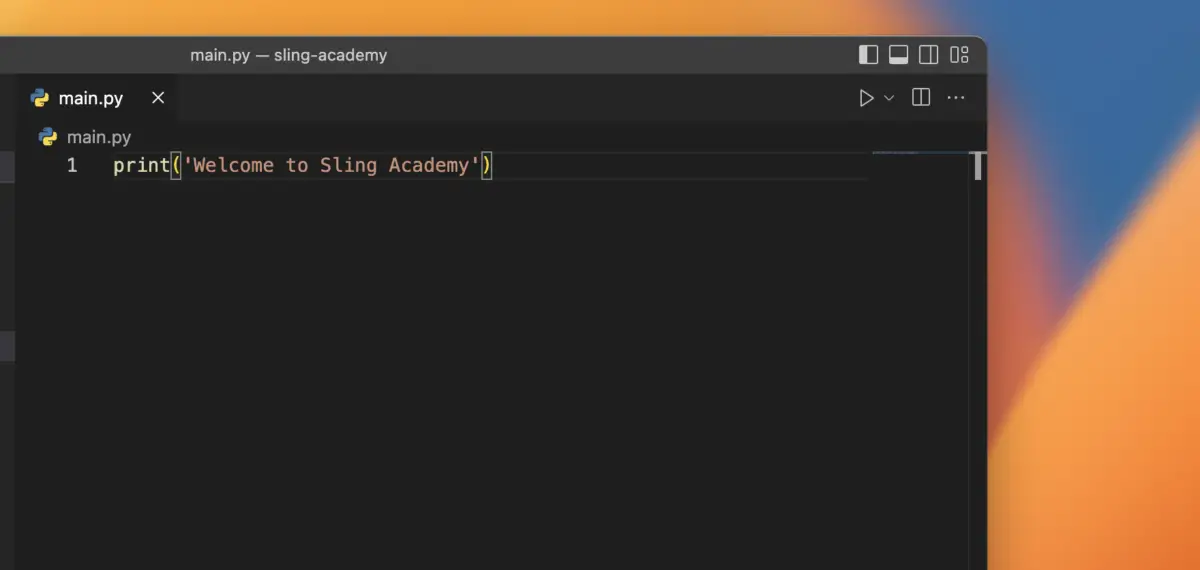
2. Reload (or restart) your VS Code, then try to execute your Python script with Code Runner, and it should work as expected. You will see the results in the output window, like this:

If you later work with another Python project in a virtual environment, copy the entire .vscode folder into the root directory of that project. Everything remains the same and no further changes need to be made.
I hope this helps. Happy coding!


