This succinct article shows you how to integrate TailwindCSS in Next.js.
A Quick Introduction
TailwindCSS is a popular CSS framework that can help you create nice user interfaces quickly with pre-made CSS classes.
Unlike MUI, Ant Design, or Bootstrap, TailwindCSS only provides CSS rules. It doesn’t ship any Javascript functionality as well as any React components. Therefore, there is no need to worry about problems related to server-side rendering.
TailwindCSS is highly customizable, and you can customize all of its variables to make them match your wish. The framework is also highly optimized because it comprises many CSS classes, but it can prune the unused ones at build time, reducing the final bundle size as unused CSS classes get removed.
Using TailwindCSS in Next.js 13 and beyond
In Next.js 13 and newer, when initializing a new project with the following command:
npx create-next-app@latest project-nameNext.js will ask if you want to use TailwindCSS and will automatically install the required packages and do the necessary settings if you agree. Below is the screenshot:
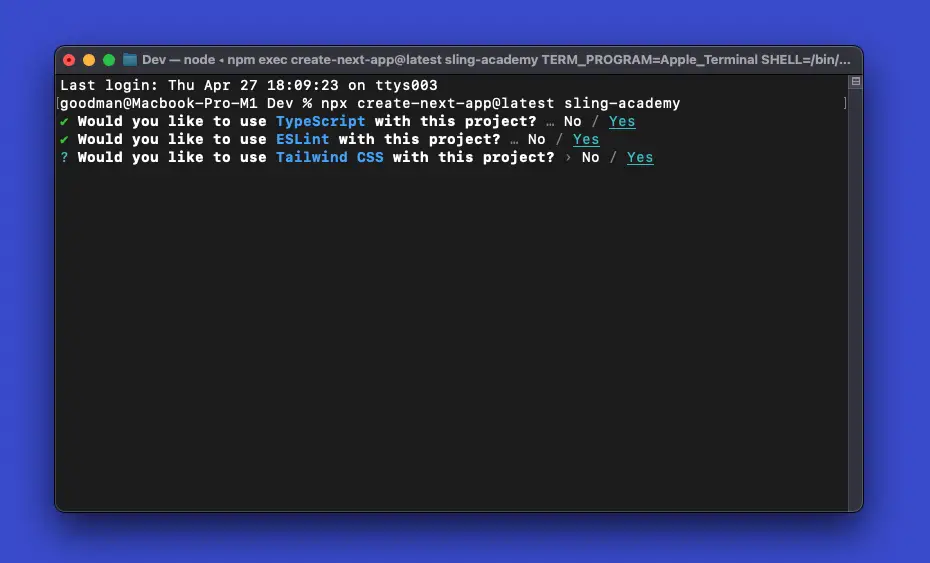
This is great and convenient. It saves us a lot of time as well as prevents blunder errors. If you have initialized a Next.js project before but have not yet integrated TailwindCSS, please see the next section.
Integrating TailwindCSS into an existing Next.js project
Below are the steps to setup TailwindCSS in Next.js:
1. Initialize a brand new Next.js project:
npx create-next-app exampleThe project’s name is totally up to you.
2. In the project directory, run the following command to install all required dependencies:
npm i -D tailwindcss postcss autoprefixer3. Now, we have all dependencies installed. The next move is to create configuration files (tailwind.config.js and postcss.config.js) by executing the following command:
npx tailwindcss init -p4. Open tailwind.config.js and add paths to your Next.js pages or components:
/** @type {import('tailwindcss').Config} */
module.exports = {
  content: [
    // add this line
    "./pages/**/*.{js,ts,jsx,tsx}",
    // if you have other folders, add their paths too, like this:
    "./components/**/*.{js,ts,jsx,tsx}",
  ],
  theme: {
    extend: {},
  },
  plugins: [],
}
5. Import TailwindCSS into your pages/_app.js file:
import '../styles/globals.css'
import 'tailwindcss/tailwind.css';

function MyApp({ Component, pageProps }) {
  return <Component {...pageProps} />
}

export default MyApp
6. To verify that everything will work as expected, replace all of the default code in pages/index.js with the following:
// pages/index.js
export default function Home() {
  return (
    <div className="w-full h-screen py-12 bg-white">
      <div className="max-w-7xl mx-auto px-4 sm:px-6 lg:px-8">
        <div className="lg:text-center">
          <h2 className="text-base text-red-500 font-semibold">Good Morning</h2>
          <p className="mt-2 text-blue-800 text-3xl leading-8 font-extrabold tracking-tight sm:text-4xl">Welcome to Sling Academy</p>
        </div>

        <div className="mt-10 space-y-10 md:space-y-0 md:grid md:grid-cols-2 md:gap-x-8 md:gap-y-10">
          <div
            className="bg-amber-500 cursor-pointer text-white p-4 rounded-md text-center shadow-xl">
            <div className="mt-2 font-bold">John Doe</div>
            <div className="font-light">Some description</div>
          </div>

          <div
            className="bg-red-500 cursor-pointer text-white p-4 rounded-md text-center shadow-xl">
            <div className="mt-2 font-bold">John Doe</div>
            <div className="font-light">Some description</div>
          </div>

          <div
            className="bg-green-500 cursor-pointer text-white p-4 rounded-md text-center shadow-xl">
            <div className="mt-2 font-bold">John Doe</div>
            <div className="font-light">Some description</div>
          </div>

          <div
            className="bg-purple-500 cursor-pointer text-white p-4 rounded-md text-center shadow-xl">
            <div className="mt-2 font-bold">John Doe</div>
            <div className="font-light">Some description</div>
          </div>
        </div>


      </div>
    </div>
  )
}
7. Get your project up and running:
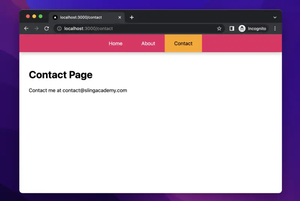
npm run devThen go to http://localhost:3000, and you should get the result below:
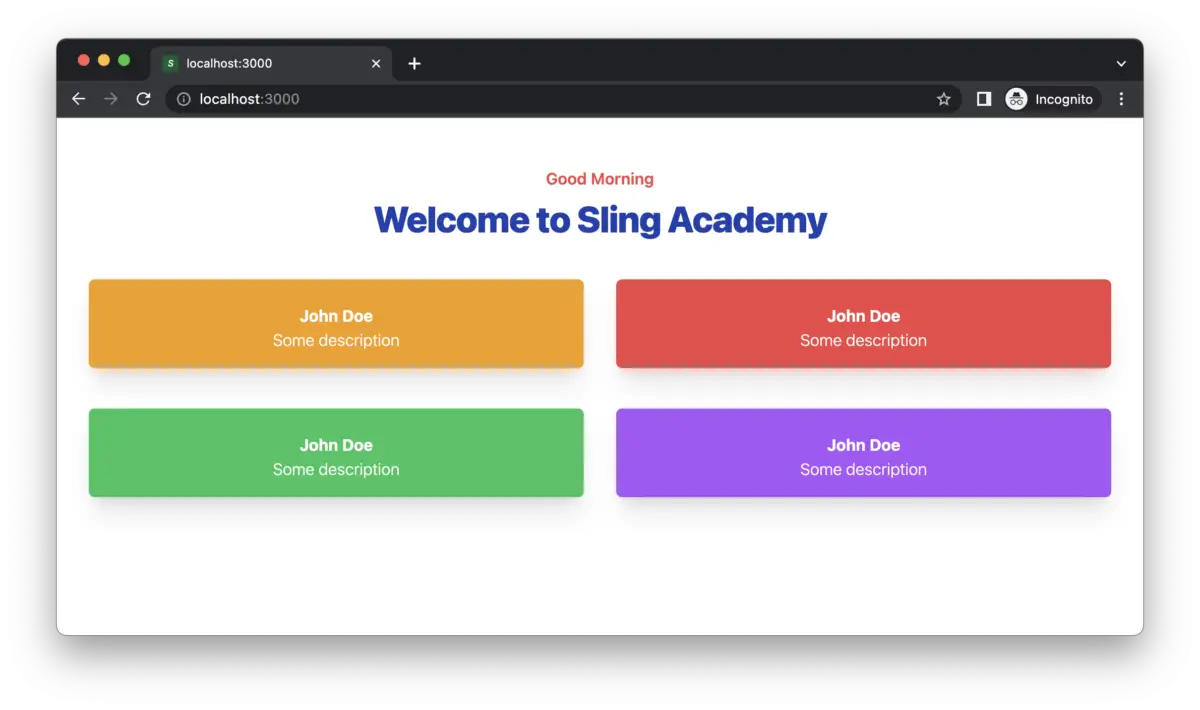
Congratulations! You’ve successfully integrated TailwindCSS into a Next.js project and created a simple but good-looking UI. There was no need to write even a single line of CSS code. That’s so amazing.