Table of Contents
What is the point?
When developing websites and web apps with JavaScript, there might be cases where you want to show a custom context menu on right-click rather than the default context menu provided by browsers (which has a limited set of options like Save As, Reload, Back, Forward, Print, etc).
In general, the steps to implement a custom context menu that appears when the user makes a right-click are:
- Create a container element for the menu and add some child elements for each menu option. You can use any HTML elements and attributes you want. Style the container element with CSS to make it look like a menu. You can also use a display: none property to hide it initially.
- Add an event listener for the contextmenu event on the document or the element you want to trigger the menu. This event fires when the user right-clicks on something. In the event handler, prevent the default browser behavior with event.preventDefault(), and show your custom menu container element. You can also position the container element near the cursor by using the event.clientX and event.clientY properties to get the mouse coordinates.
- Add another event listener for the click event on the document (or something like that) to close the menu. In the event handler, hide the menu container element with display: none.
- Add some logic to handle the menu options. You can use a conditional statement or a loop to check which option was clicked and perform some action accordingly.
These words may sound confusing and ambiguous. The example below will give you a better and deeper understanding.
Complete example
Preview
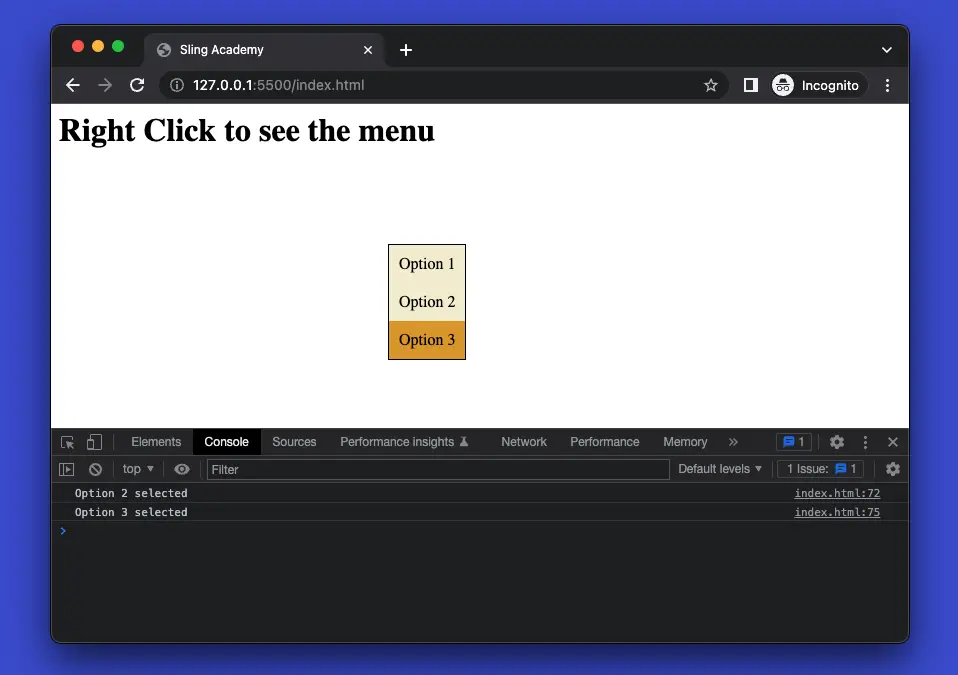
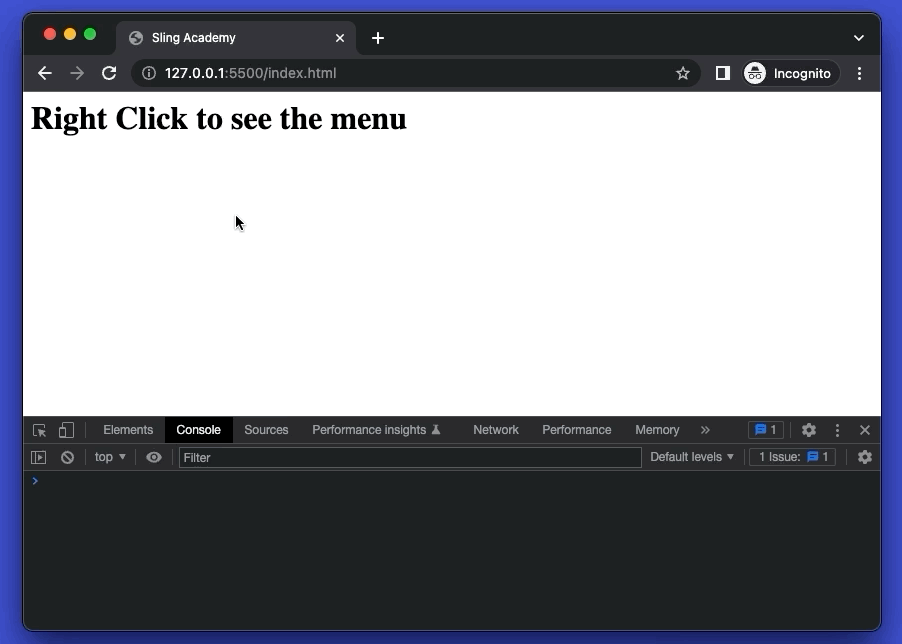
The sample webpage we’re going to make can display a custom context menu near the mouse cursor on right-click. When an option of the menu is selected, some text will be printed out in the console.
Here’s how it works:
The code
The full source that produces the demo above (with explanations in the comments):
<html>

<head>
  <title>Sling Academy</title>
  <style>
    /* style menu container */
    .menu {
      display: none;
      position: absolute;
      border: 1px solid black;
      background-color: rgb(244, 239, 210);
    }

    /* style menu items */
    .option {
      padding: 10px;
      cursor: pointer;
    }

    .option:hover {
      background-color: rgb(222, 159, 23);
    }
  </style>
</head>

<body>
  <!-- The custom context menu -->
  <div class="menu">
    <div class="option">Option 1</div>
    <div class="option">Option 2</div>
    <div class="option">Option 3</div>
  </div>

  <!-- Other contents of the page -->
  <h1>Right Click to see the menu</h1>

  <script>
    // select the menu element
    const menu = document.querySelector(".menu");

    // add an event listener for the right-click event on the document
    document.addEventListener("contextmenu", (event) => {
      // prevent the default browser behavior
      event.preventDefault();
      // show the menu element
      menu.style.display = "block";
      // position the menu element near the cursor horizontally
      menu.style.left = `${event.clientX}px`;
      // position the menu element near the cursor vertically
      menu.style.top = `${event.clientY}px`;
    });

    // add an event listener for the click event on the document
    document.addEventListener("click", () => {
      // hide the menu element
      menu.style.display = "none";
    });

    // select all the option elements
    const options = document.querySelectorAll(".option");

    // add an event listener for the click event on each option element
    options.forEach((option) => {
      option.addEventListener("click", (event) => {
        // get the text content of the clicked option
        const text = event.target.textContent;
        if (text === "Option 1") {
          // do something for option 1
          console.log("Option 1 selected");
        } else if (text === "Option 2") {
          // do something for option 2
          console.log("Option 2 selected");
        } else if (text === "Option 3") {
          // do something for option 3
          console.log("Option 3 selected");
        }
      });
    });
  </script>
</body>

</html>
You can save this file as index.html and open it in your web browser to see how well it performs. Try to modify the code and improve it to suit your needs. The tutorial ends here. Happy coding & have a nice day!


