This concise article is about passing and retrieving data with Link components in Next.js. We’ll discuss the technique (just a few words) and then examine a complete example of applying that technique in practice.
Table of Contents
Overview
You can pass a data object via a Link component like so:
<Link
          href={{
            pathname: "/some-page",
            query: data, // the data
          }}
>
         Some Text
</Link>
To retrieve the passed data, we can use the useRouter hook like this:
const router = useRouter();
const data = router.query;
console.log(data);
For more clarity, see the example below.
The Example
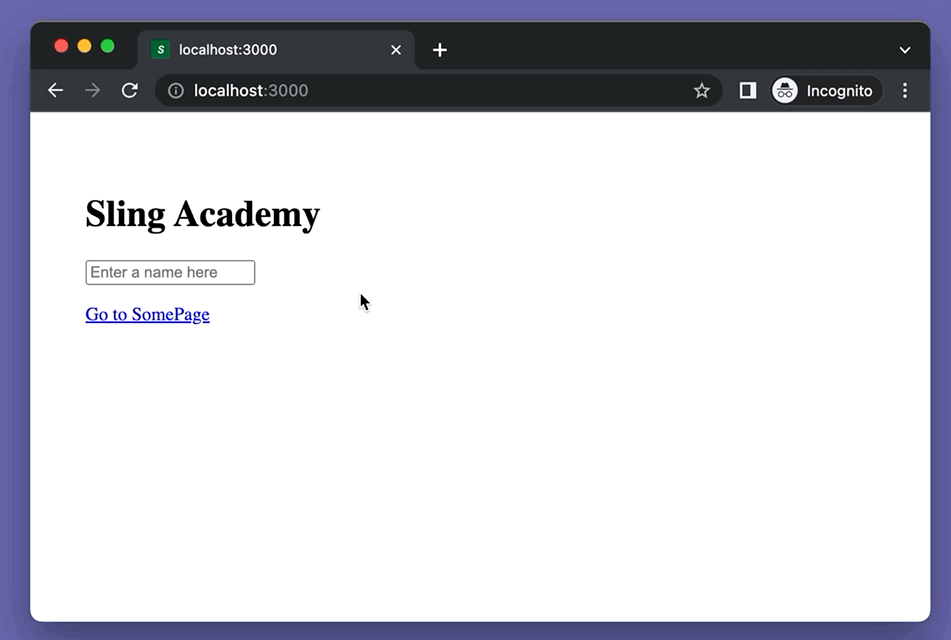
App Preview
The sample Next.js app we are going to build has two routes:
- /: Home
- /some-page: SomePage
On the home page, there are a Link and a text input. The Link is used to navigate to SomePage. The user can enter a name (or whatever they want) into the text field. The entered text will be passed to SomePage through the Link.
A short demo is worth more than a thousand words:
The Code
1. Create a brand new Next.js project:
npx create-next-app example2. Remove all of the default code in pages/index.js and add the following:
// index.js
import Link from 'next/link';
import { useState } from 'react';

export default function Home() {
  // this data will be passed to /some-page via the Link component
  const [data, setData] = useState({ name: '' });

  return (
    <div style={{ padding: 40 }}>
      <h1>Sling Academy</h1>

      <div>
        {/* This text field is used to create dynamic data */}
        <input
          type='text'
          placeholder='Enter a name here'
          value={data.name}
          onChange={(event) =>
            setData({
              name: event.target.value,
            })
          }
        />
      </div>

      <p>
        {/* Here is the Link */}
        <Link
          href={{
            pathname: '/some-page',
            query: data, // the data
          }}
          style={{ color: 'blue', textDecoration: 'underline' }}
        >
          Go to SomePage
        </Link>
      </p>
    </div>
  );
}
3. In your /pages directory, create a new file named some-page.js and add the code below:
// some-page.js
import { useRouter } from "next/router";

export default function SomePage() {
  const router = useRouter();
  const query = router.query;
  const name = query.name;

  return (
    <div style={{ padding: 40 }}>
      <h1>SomePage</h1>
      <h2>
        Name: <span style={{ color: "red" }}>{name}</span>
      </h2>
    </div>
  );
}
4. Run the app and go to http://localhost:3000 to check the result:
npm run devThat’s it. Happy coding!