This succinct, straight-to-the-point article is about the asyncio.loop.create_server() method in Python.
The Fundamentals
The asyncio.loop.create_server() method was added to the Python standard library in version 3.4, as part of the asyncio module.
The method is used to create a TCP server that can handle multiple client connections concurrently using coroutines and the async/await syntax.
Syntax & Parameters
Here’s the full syntax of the asyncio.loop.create_server() method:
loop.create_server(
      protocol_factory,
      host=None, port=None,
      *,
      family=socket.AF_UNSPEC,
      flags=socket.AI_PASSIVE,
      sock=None,
      backlog=100,
      ssl=None,
      reuse_address=None,
      reuse_port=None,
      ssl_handshake_timeout=None,
      shutdown_timeout=60,
      loop=None
)
Where:
protocol_factory: A callable that returns a protocol instance. It will be called once for each client connection.host: A string representing the hostname or IP address of the server. IfNone, the server will listen on all available interfaces.port: An integer representing the port number of the server. IfNone, a random port will be chosen.family: An integer representing the address family of the server. It can be one of the constants defined in the socket module, such assocket.AF_INETorsocket.AF_INET6. If0, the default family will be chosen based on the host parameter.flags: An integer representing additional flags for the server. It can be a bitwise OR of the constants defined in the socket module, such assocket.AI_PASSIVEorsocket.AI_NUMERICHOST.sock: An existing socket object to use for the server. If specified, the host, port, family, and flags parameters are ignored.backlog: An integer representing the maximum number of pending connections to allow before refusing new ones.ssl: A SSLContext object that provides SSL/TLS support for the server. If specified, the server will use a secure connection.reuse_address: A boolean indicating whether to enable the SO_REUSEADDR socket option. IfNone, it will be automatically set to True on UNIX systems and False on Windows systems.reuse_port: A boolean indicating whether to enable the SO_REUSEPORT socket option. IfNone, it will be automatically set to False.ssl_handshake_timeout: A float representing the timeout in seconds for performing the SSL/TLS handshake with a new client connection. IfNone, it will be automatically set to 60 seconds.shutdown_timeout: A float representing the timeout in seconds for shutting down the server gracefully. IfNone, it will be automatically set to 60 seconds.
The returned value of the method is an asyncio.Server object. Its main methods are:
start_serving(): start accepting connections from clients. This method is called automatically when using asyncio.run() or asyncio.loop.run_until_complete().close(): stop accepting connections from clients and close all open connections. This method returns a coroutine that can be awaited to wait for the server to shut down.serve_forever(): start accepting connections until the coroutine is cancelled. Cancellation ofserve_forevertask causes the server to be closed. This method can be called if the server is already accepting connections. Only oneserve_forevertask can exist per oneServerobject.
Examples
Making an HTTP server
This example creates a very basic HTTP server that responds with a welcome message to GET requests:
# SlingAcademy.com
# This code uses Python 3.11.4
import asyncio
# Define a protocol class that inherits from asyncio.Protocol
class HTTPProtocol(asyncio.Protocol):
# This method is called when a new connection is established
def connection_made(self, transport):
# Save a reference to the transport object
self.transport = transport
# This method is called when data is received from the client
def data_received(self, data):
# Parse the HTTP request line
request_line = data.split(b"\r\n", 1)[0]
method, path, version = request_line.split(b" ", 3)
# Print a message on the server side
print(f"Request: {method.decode()} {path.decode()} {version.decode()}")
# Check if the method is GET and the path is /
if method == b"GET" and path == b"/":
response = (
'HTTP/1.1 200 OK\r\n'
'Content-Type: text/plain\r\n'
'\r\n'
'Welcome to Sling Academy!'
)
# Encode the response from string to bytes
response_data = response.encode()
# Send the HTTP response to the client
self.transport.write(response_data)
else:
# Send a 404 Not Found response to the client
self.transport.write(b"HTTP/1.1 404 Not Found\r\n\r\n")
# Close the connection
self.transport.close()
# Define an async function that creates and runs the server
async def main():
# Get the current event loop
loop = asyncio.get_running_loop()
# Create the server using asyncio.create_server()
server = await loop.create_server(
HTTPProtocol, # The protocol factory
"127.0.0.1", # The host address
8080, # The port number
)
# Get the server address and port
addr = server.sockets[0].getsockname()
# Print a message on the server side
print(f"Serving on http://{addr[0]}:{addr[1]}")
# Run the server until it is stopped
async with server:
await server.serve_forever()
# Run the async function using asyncio.run()
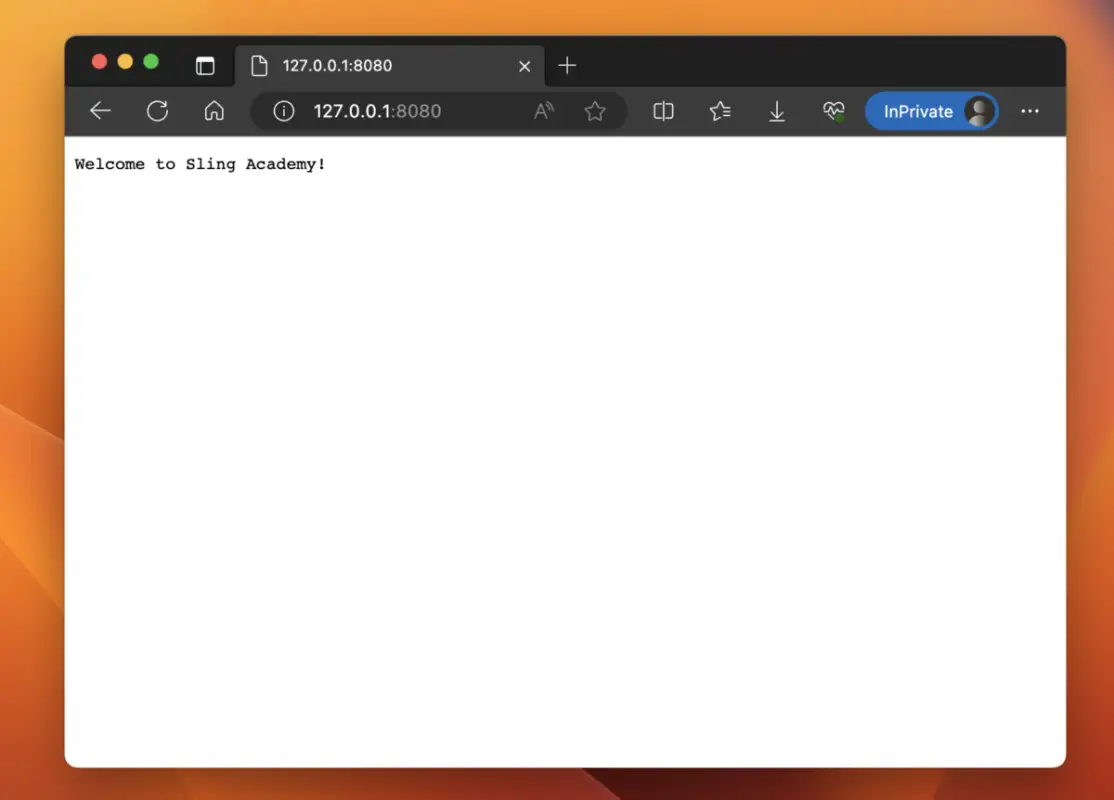
asyncio.run(main())Run the code above then open your favorite web browser and go to http://127.0.0.1:8080. The result will look like this:
Creating a socket server
In the following example, we’ll write a simple echo server that sends back whatever data it receives from clients:
# SlingAcademy.com
# This code uses Python 3.11.4

import asyncio


# Define a protocol class that inherits from asyncio.Protocol
class EchoProtocol(asyncio.Protocol):
    # This method is called when a new client connection is established
    def connection_made(self, transport):
        # Save a reference to the transport object
        self.transport = transport
        # Get the peer name of the client
        peername = transport.get_extra_info("peername")
        # Print a message
        print(f"Connection from {peername}")

    # This method is called when data is received from the client
    def data_received(self, data):
        # Decode the data from bytes to string
        message = data.decode()
        # Print a message
        print(f"Data received: {message}")
        # Send back the same data to the client
        self.transport.write(data)
        # Print a message
        print(f"Data sent: {message}")

    # This method is called when the client connection is closed
    def connection_lost(self, exc):
        # Print a message
        print("Connection closed")
        # Close the transport
        self.transport.close()


# Define an asynchronous function that creates and runs the server
async def main():
    # Get the current event loop
    loop = asyncio.get_running_loop()
    # Create a TCP server using the loop and the protocol class
    server = await loop.create_server(EchoProtocol, "127.0.0.1", 8888)
    # Get the server address and port
    addr = server.sockets[0].getsockname()
    # Print a message
    print(f"Serving on {addr}")
    # Run the server until it is stopped
    async with server:
        await server.serve_forever()


# Run the main function using asyncio.run()
asyncio.run(main())
Run the code then use the telnet program to connect to the echo server by using the command:
telnet 127.0.0.1 8888telnet is a network protocol that allows you to communicate with remote devices using a command-line interface. However, it is not enabled by default on Windows and Mac, so you need to install it manually.
On Windows, you can enable telnet by following the steps below (if you’ve enabled it before):
- Open the Command Prompt as an administrator by pressing
Windows+R, typingcmd, and pressingCtrl+Shift+Enter. - Type
dism /online /Enable-Feature /FeatureName:TelnetClientthen pressEnter. - Wait for the installation to complete.
On macOS, you can install telnet easily with homebrew:
brew install telnetIf homebrew hasn’t been installed on your Mac yet, just execute this command:
/bin/bash -c "$(curl -fsSL https://raw.githubusercontent.com/Homebrew/install/HEAD/install.sh)"Then install telnet as shown above.
Afterword
You have learned the fundamentals of the asyncio.loop.create_server() method and have gone over a couple of examples that demonstrate how to use the method to build your own asynchronous HTTP server and socket server. This tutorial ends here. If you find something outdated or incorrect, please let me know by leaving a comment. Happy coding & enjoy your day!


