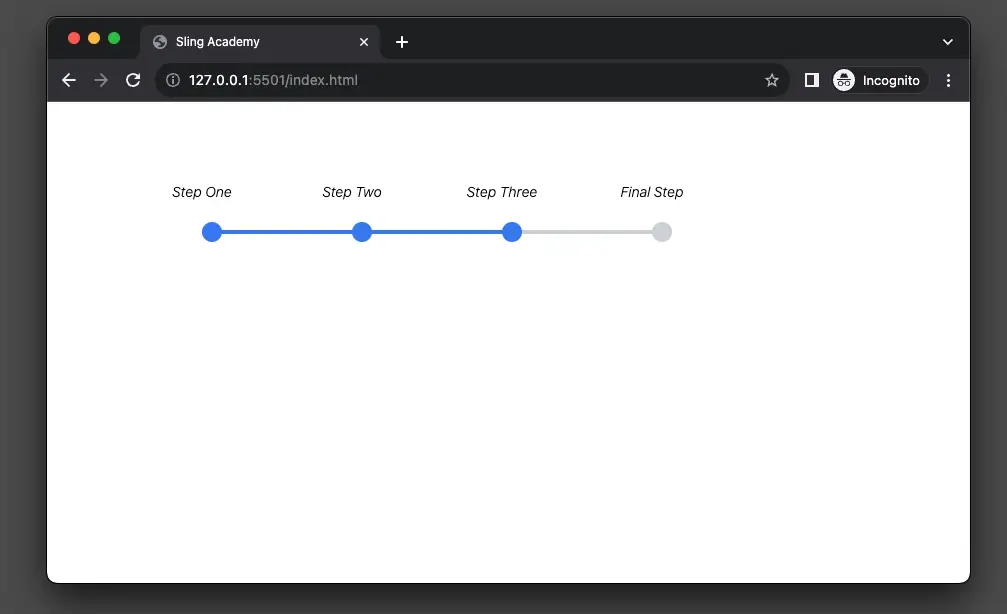
When building modern websites, there may be cases where users have to complete several steps in a process (registration and authentication process, ordering and payment process, etc). To increase visibility and improve user experience, adding a stepper is a good thing to do.
The example below shows you how to create a stepper with Tailwind CSS. The point here is to use the :before and :after modifiers to make the progress bar.
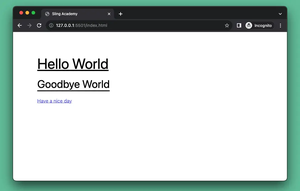
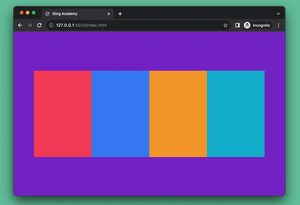
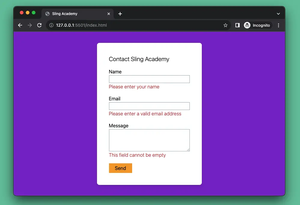
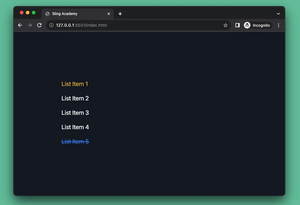
Screenshot:
The code:
<body class="p-20">
    <nav>
        <ol class="flex">
            <li class="relative w-[150px] text-center text-sm font-light italic
                after:content-[''] after:absolute after:left-[50%] after:top-[200%] after:w-5 after:h-5
                after:bg-blue-500 after:rounded-full after:z-50
                ">
                Step One
            </li>
            <li class="relative w-[150px] text-center text-sm font-light italic
            before:content-[''] before:absolute before:left-[-50%] before:top-[calc(200%+0.5rem)] before:w-full before:h-1
            before:bg-blue-500
            after:content-[''] after:absolute after:left-[50%] after:top-[200%] after:w-5 after:h-5
            after:bg-blue-500 after:rounded-full after:z-50
                ">
                Step Two
            </li>

            <li class="relative w-[150px] text-center text-sm font-light italic
            before:content-[''] before:absolute before:left-[-50%] before:top-[calc(200%+0.5rem)] before:w-full before:h-1
            before:bg-blue-500
            after:content-[''] after:absolute after:left-[50%] after:top-[200%] after:w-5 after:h-5
            after:bg-blue-500 after:rounded-full after:z-50
                ">
                Step Three
            </li>
            <li class="relative w-[150px] text-center text-sm font-light italic
            before:content-[''] before:absolute before:left-[-50%] before:top-[calc(200%+0.5rem)] before:w-full before:h-1
            before:bg-gray-300
            after:content-[''] after:absolute after:left-[50%] after:top-[200%] after:w-5 after:h-5
            after:bg-gray-300 after:rounded-full after:z-50
                ">
                Final Step
            </li>
        </ol>
    </nav>
</body>
You can modify the code to improve the result and adjust elements to fit your needs.
That’s it. Happy coding & have beautiful projects with Tailwind CSS!