This article is aimed at newcomers to the first steps on the journey into the world of SwiftUI and iOS Development. Therefore, I will explain everything in detail and understandable (maybe it’s as simple as boring). Before getting started, you need the following:
- A Mac computer (Macbook, Mac mini, or iMac)
- XCode installed (version 14.1 or newer)
If you have those things ready, let’s begin creating a Hello World app with SwiftUI.
The Steps
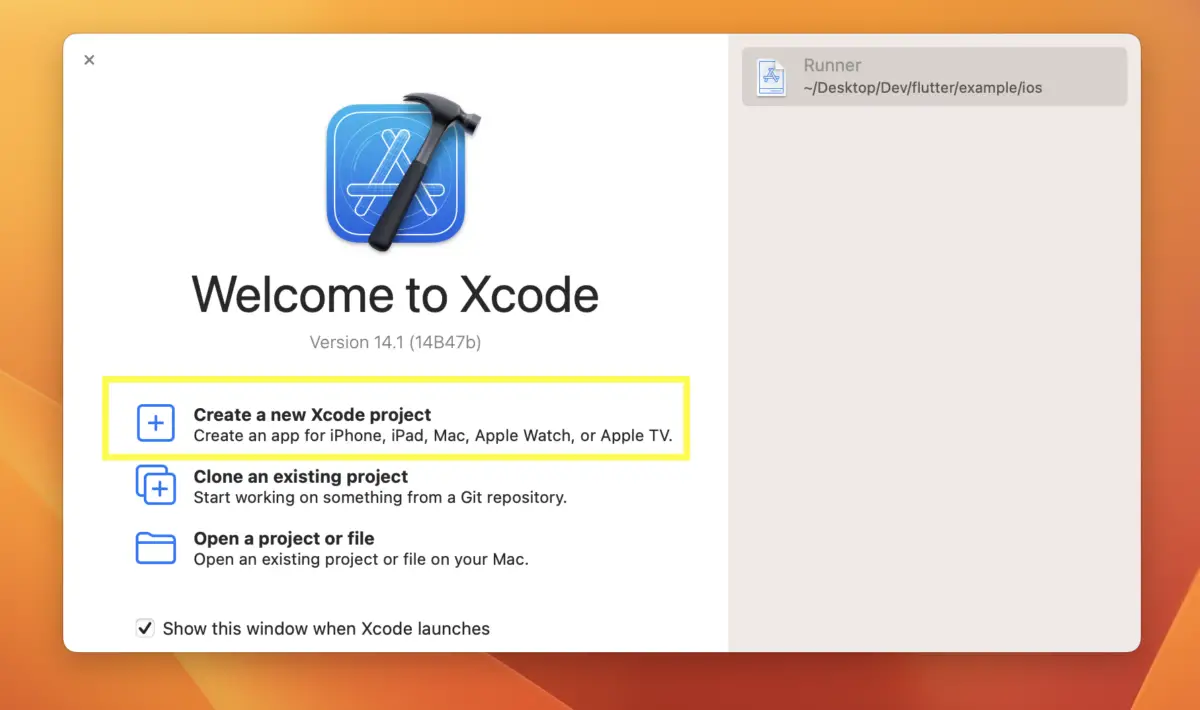
1. Open Xcode and click on “Create a new Xcode project”:
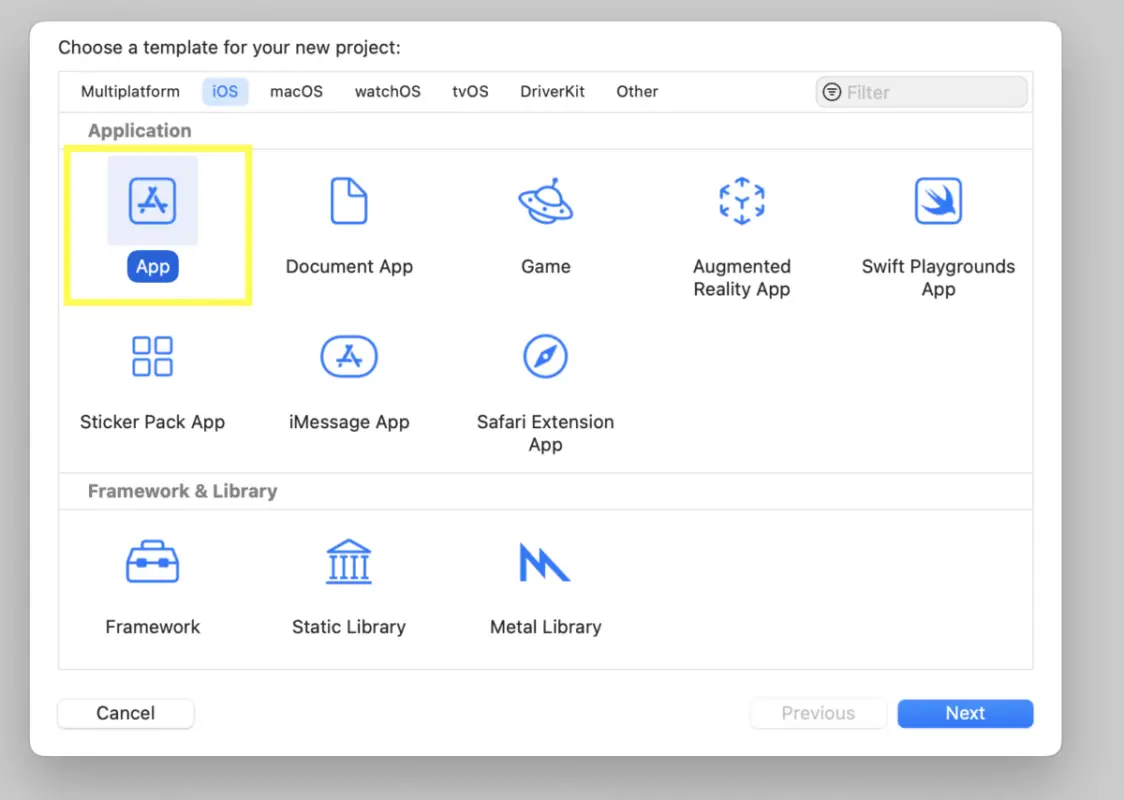
2. A dialog will show up. Select “App” from the template selector:
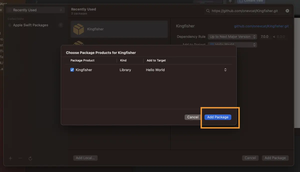
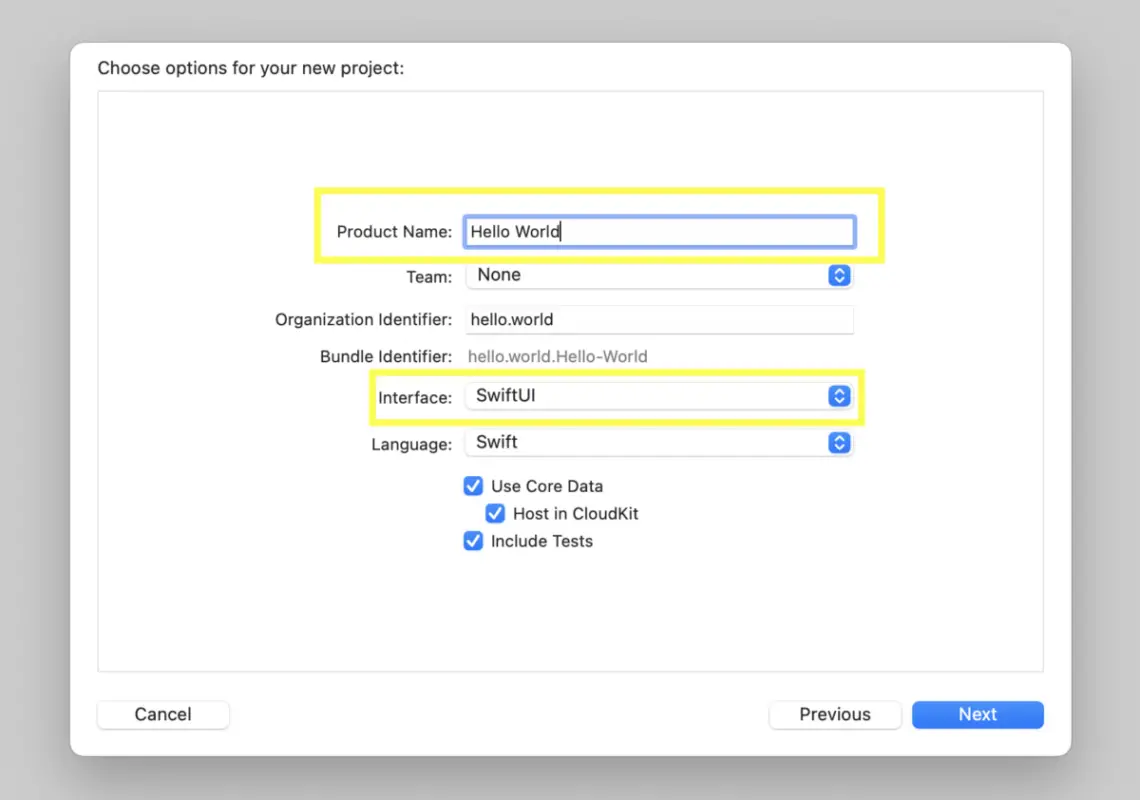
3. Enter a name for your project, and click “Next” (make sure “SwiftUI” is selected as the “Interface”):
4. Select a location for your project, then click “Create” (“Desktop” is fine). Your screen can load for a while in this step, but that’s completely normal.
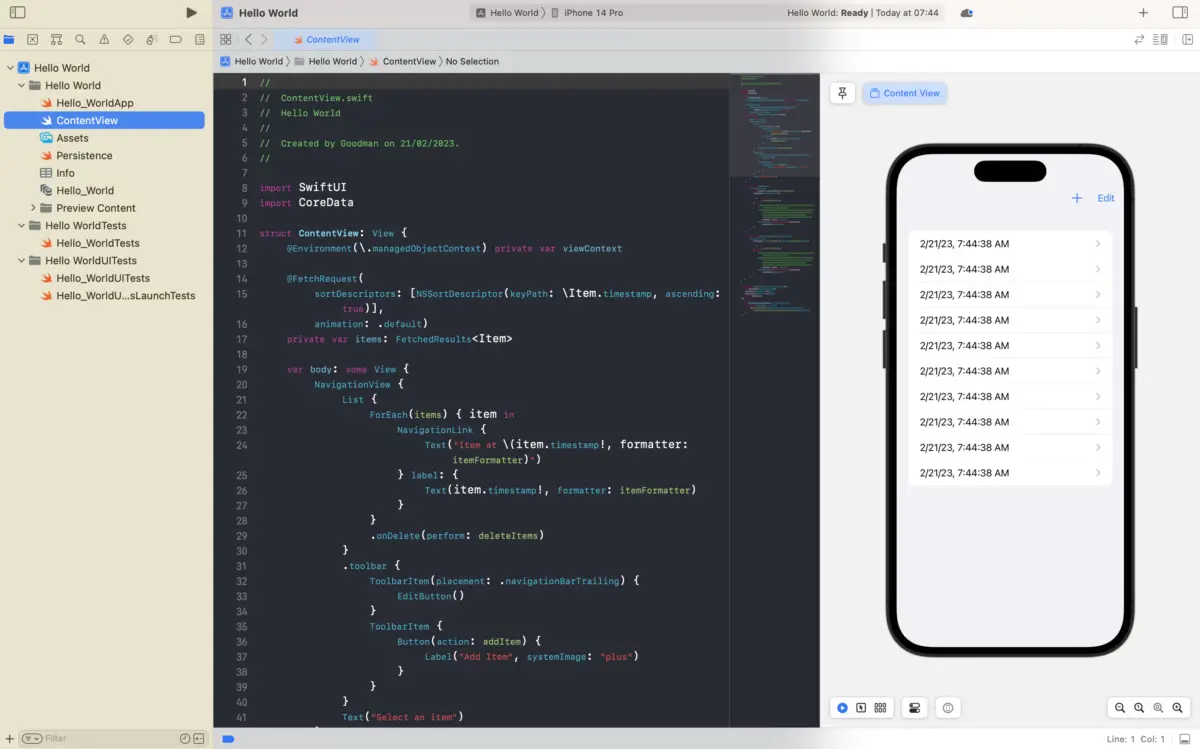
5. Xcode will generate a basic template for your app. If you take a look at the “ContentView.swift” file, you will see the following (If you are an absolute beginner, this amount of code can make you frustrated. Don’t worry; what we are about to do will be much simpler):
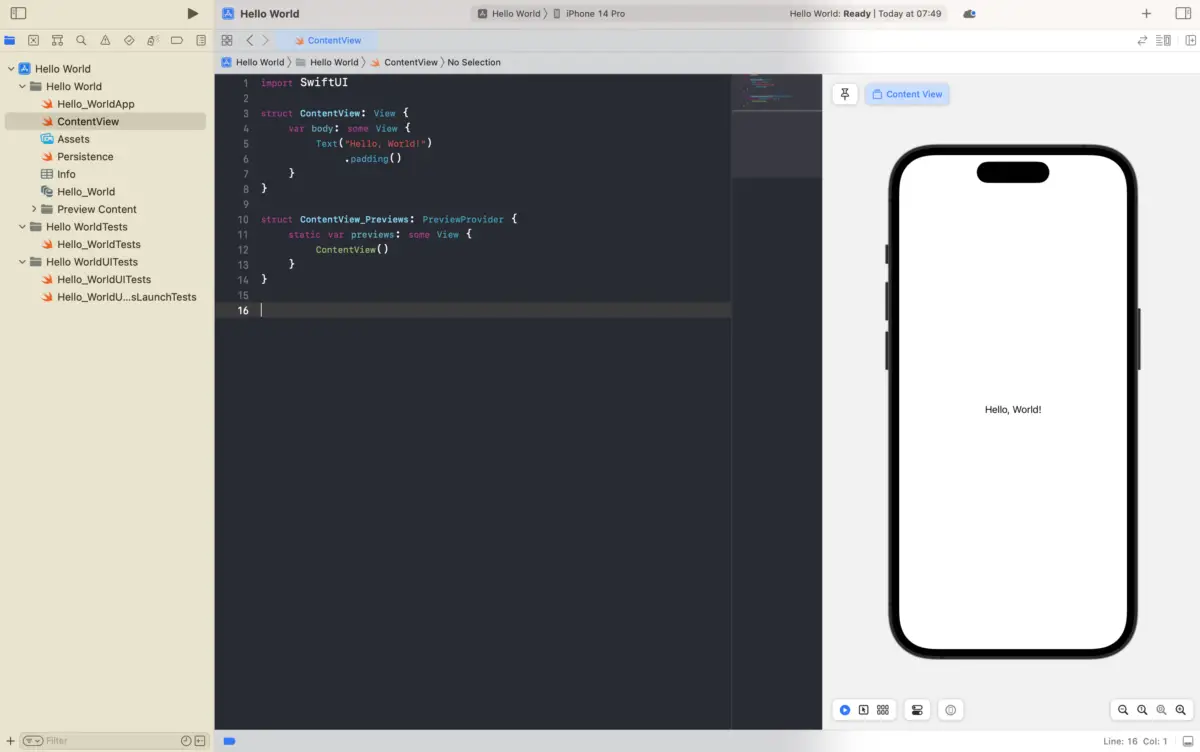
6. Replace the existing code in “ContentView.swift” with the following:
import SwiftUI

struct ContentView: View {
    var body: some View {
        Text("Hello, World!")
            .padding()
    }
}

struct ContentView_Previews: PreviewProvider {
    static var previews: some View {
        ContentView()
    }
}
Code explained:
This code defines a SwiftUI view called ContentView that displays a text message “Hello, World!”.
- The first line, import SwiftUI, imports the SwiftUI framework.
- The ContentView struct conforms to the View protocol, which indicates that it is a user interface element that can be displayed on the screen.
- The body property is a computed property that returns some View. The some keyword indicates that the return type is opaque and can be any type that conforms to the View protocol. The body of the view is defined using a Text view that displays the message “Hello, World!”.
- The .padding() modifier is chained onto the end of the Text view, which adds padding around the text to create some space between the text and the edges of the view.
- The second struct, ContentView_Previews, conforms to the PreviewProvider protocol, which provides a preview of the view in Xcode’s design canvas. The previews property is a computed property that returns some View, which in this case is an instance of the ContentView view. This allows Xcode to display a live preview of the ContentView view while you are building it.
And you will get this result (almost immediately):
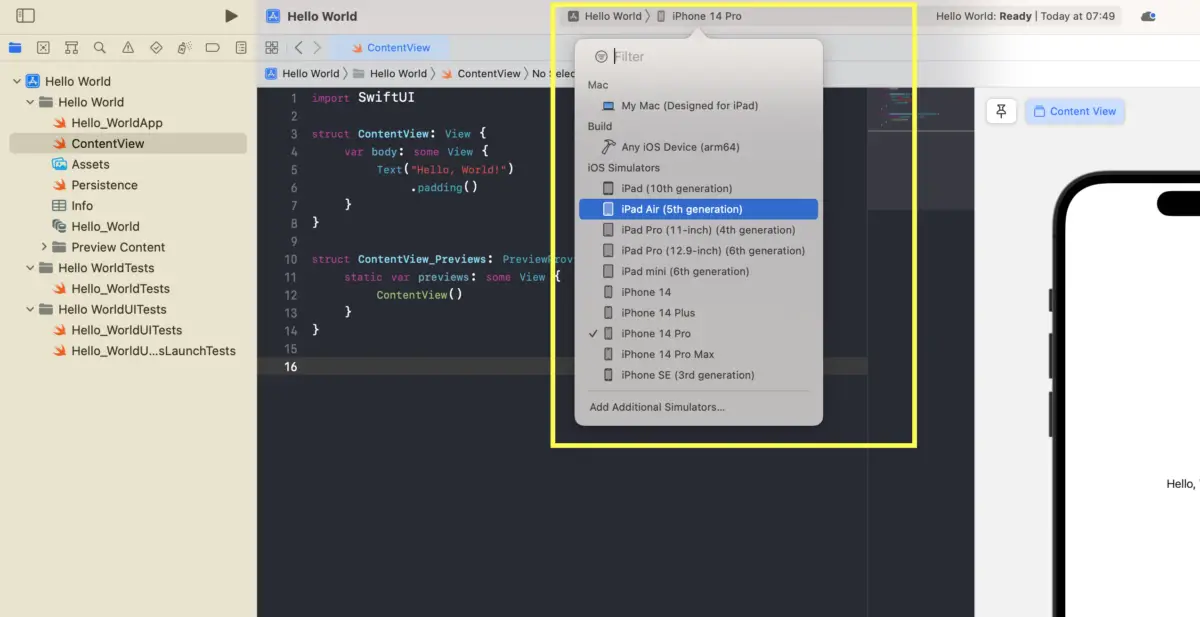
If you don’t like to preview your app on an iPhone, you can select another device from the top bar, as shown in the screenshot below:
The amount of code for our Hello World app is not much, will make it easier to understand than the default template. If you have any questions, just leave a comment. We are happy to hear from you.