In mobile apps, a zebra striped list is a list that has alternating background colors for each row. It is often used to improve the readability and aesthetics of data display.
This concise, practical article shows you how to implement a zebra striped List in SwiftUI.
Table of Contents
What Is The Point?
When rendering a List, we will give the odd rows a background color and the even rows a different background color. In general, the steps to achieve this goal are:
- Use a List view to iterate over your array with ForEach.
- Tell SwiftUI to create a view for each index in your array by using the indices property. You can then use that index to access the corresponding element of the array.
- Use a .listRowBackground modifier on each row to apply a different color based on its index.
- Use a ternary operator to alternate between two or more colors.
The general implementation looks like this:
List {
            ForEach(array.indices, id: \.self){ index in
                Text(array[index])
                    .listRowBackground(
                        index % 2 == 0
                        ? color one
                        : color two
                    )
            }
}
For more clarity, see the complete example below.
Example
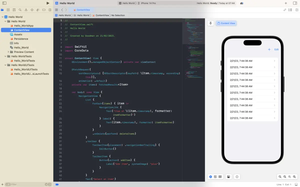
Screenshot:
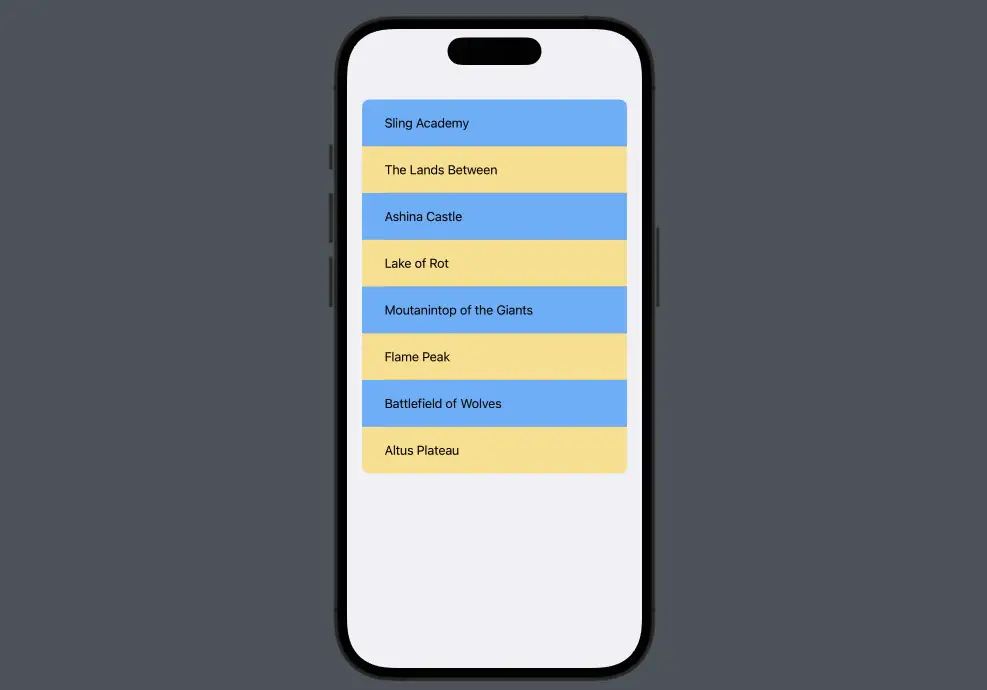
The full source code:
//
//  StripedList.swift
//  Examples
//
//  Created by slingacademy.com on 12/03/2023.
//

import SwiftUI

struct StripedList: View {
    //    An array of places
    let places = [
        "Sling Academy",
        "The Lands Between",
        "Ashina Castle",
        "Lake of Rot",
        "Moutanintop of the Giants",
        "Flame Peak",
        "Battlefield of Wolves",
        "Altus Plateau"
    ]

    var body: some View {
        List {
            ForEach(places.indices, id: \.self){ index in
                Text(places[index])
                    .listRowBackground(
                        index % 2 == 0
                        ? Color(.systemBlue).opacity(0.5)
                        : Color(.systemYellow).opacity(0.4)
                    ).padding(10)
            }
        }
    }
}

struct StripedList_Previews: PreviewProvider {
    static var previews: some View {
        StripedList()
    }
}
Final Words
You’ve learned how to create a zebra-striped List in SwiftUI. This knowledge can be useful in improving the user experience of your app. If you have any questions related to this article, please leave a comment. I’m more than happy to hear your thoughts. Happy coding & have a nice day!