
When building interactive websites (or web apps) with JavaScript, there might be cases where you want to disable a button after it gets clicked one time, for example, to prevent a user from submitting a form multiple times and causing errors or duplicate data. This practical article will show you how to do so through a complete example.
What Is The Point?
In general, there are two ways to disable a button: using CSS or using the HTML attribute disabled.
Using CSS
You can set the pointer-events property of the button to none. This will prevent any mouse events from triggering on the button. You can also set the opacity property of the button to a lower value to make it look faded. For example:
/* Define a CSS class that disables an element */
.disabled {
  pointer-events: none;
  opacity: 0.5;
}
Using HTML attribute
You can set the disabled attribute of the button to true. This will make the button unclickable and grayed out by default in web browsers. You can also use JavaScript to set or remove this attribute dynamically. For example:
<!-- Define a button element with a disabled attribute -->
<button id="myButton" disabled="true">Click Me</button>

<!-- Define a script tag that contains the JavaScript code -->
<script>
  // Get the button element by id
  var button = document.getElementById("myButton");

  // Remove the disabled attribute using removeAttribute()
  button.removeAttribute("disabled");
</script>
Complete Example
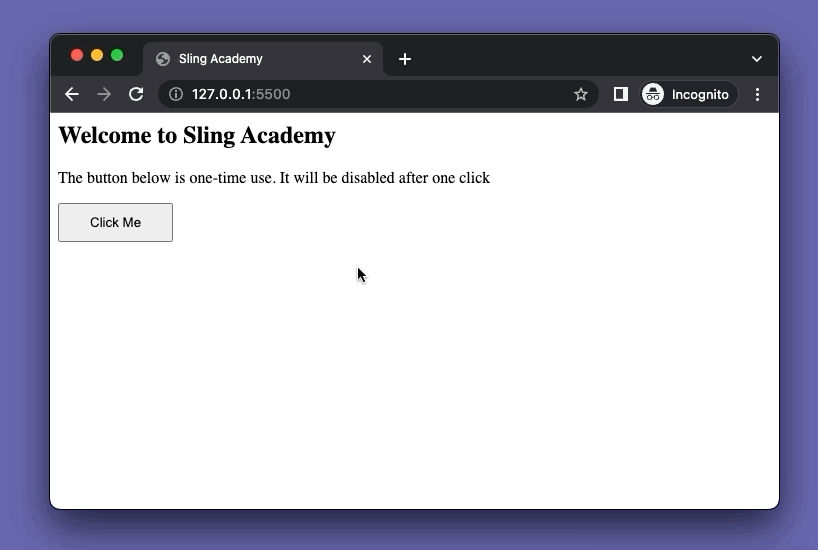
Preview
The Code
The full source code with explanations:
<html>
<head>
    <title>Sling Academy</title>
    <style>
        .button {
            padding: 10px 30px;
        }
        /* CSS disabled class */
        .disabled {
            pointer-events: none;
            opacity: 0.5;
        }
    </style>
</head>

<body>

    <h2>Welcome to Sling Academy</h2>
    <p>The button below is one-time use. It will be disabled after one click</p>
    <button id="myButton" class="button" onclick="disableButton()">Click Me</button>

    <script>
        // This function will be called when the button is clicked
        const disableButton = () => {
            // Get the button element by id
            var button = document.getElementById("myButton");

            // Add the disabled class using classList.add()
            button.classList.add("disabled");
        }
    </script>

</body>

</html>
Afterword
You’ve learned more than one technique to disable a button programmatically with vanilla JavaScript. Try to tweak the example, add some things, remove some things, change some things, and see what happens next. Happy coding & have a nice day!


