Font Awesome is a font and icon toolkit based on CSS and Less. It is used by millions of designers, developers, and content creators. Font Awesome provides over a thousand free icons, and they can be resized and colored to suit your needs.
The example below shows you how to use Font Awesome 6 (the latest version) with Next.js.
1. Create a new Next.js project, then install the required packages:
npm install @fortawesome/fontawesome-svg-core @fortawesome/free-solid-svg-icons @fortawesome/react-fontawesome2. Edit your page/_app.js file (create one if it doesn’t exist):
// import Font Awesome CSS
import "@fortawesome/fontawesome-svg-core/styles.css";

import { config } from "@fortawesome/fontawesome-svg-core";
// Tell Font Awesome to skip adding the CSS automatically
// since it's already imported above
config.autoAddCss = false;

const App = ({ Component, pageProps }) => {
  return <Component {...pageProps} />;
};

export default App;
Note that you can see all available icons in the following file:
/node_modules/@fortawesome/free-solid-svg-icons/index.d.ts3. Now you can add and style (font size, color, etc.) a Font Awesome icon by using the <FontAwesomeIcon/> component like this:
<FontAwesomeIcon
    icon={faAmbulance}
    style={{ fontSize: 100, color: "orange" }}
/>
Full example:
// pages/index.js
// Import the FontAwesomeIcon component
import { FontAwesomeIcon } from "@fortawesome/react-fontawesome";
// import the icons you need
import {
faSearch,
faAmbulance,
faAnchor,
} from "@fortawesome/free-solid-svg-icons";
const Home = (props) => {
return (
<div>
<FontAwesomeIcon
icon={faSearch}
style={{ fontSize: 100, color: "blue" }}
/>
<FontAwesomeIcon
icon={faAmbulance}
style={{ fontSize: 100, color: "orange" }}
/>
<FontAwesomeIcon
icon={faAnchor}
style={{ fontSize: 100, color: "green" }}
/>
</div>
);
};
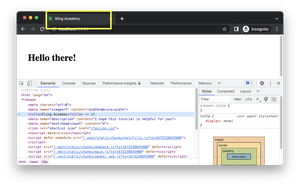
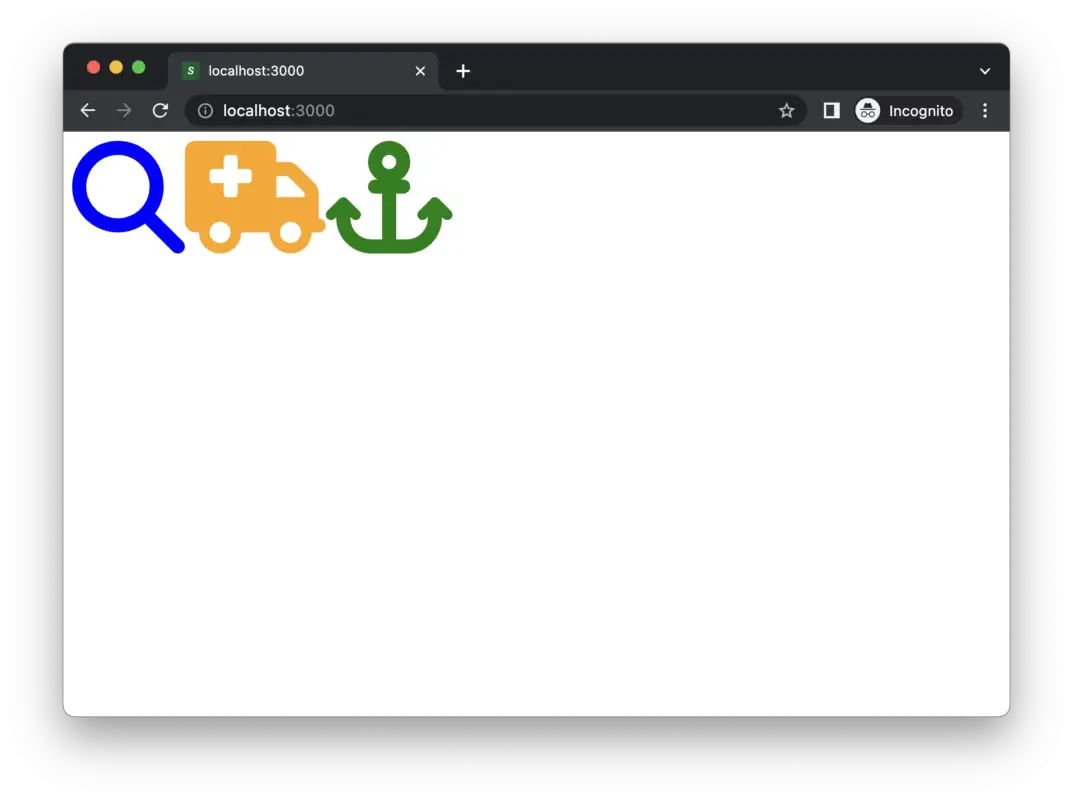
export default Home;Run your project (restart if it’s already running) and see the result:
That’s it, my friend. From here, you’re pretty good to go and ready to build big things.