When building a web application, you can set the lang attribute of the <html> tag to explicitly declare the language used on your pages. For example, an app made for the Japanese market:
<html lang="ja">Note: For English-speaking countries, replace ja with en.
This concise article will show you how to specify the lang attribute for a Next.js app. If you’re using Next.js 13+ with App Router (the /app directory), see the first section. If you prefer Pages Router (the /pages directory), see the later section.
Set HTML lang attribute with App Router (/app directory)
The place to focus on is the app/layout.js or app/layout.tsx file in your project. Look at the html tag and edit the lang attribute right there:
export default function RootLayout({
  children,
}: {
  children: React.ReactNode
}) {
  return (
    // Edit html lang attribute to match your language here
    <html lang="ja">
      <body className={inter.className}>{children}</body>
    </html>
  )
}
Screenshot:
Set HTML lang attribute with Pages Router (/pages directory)
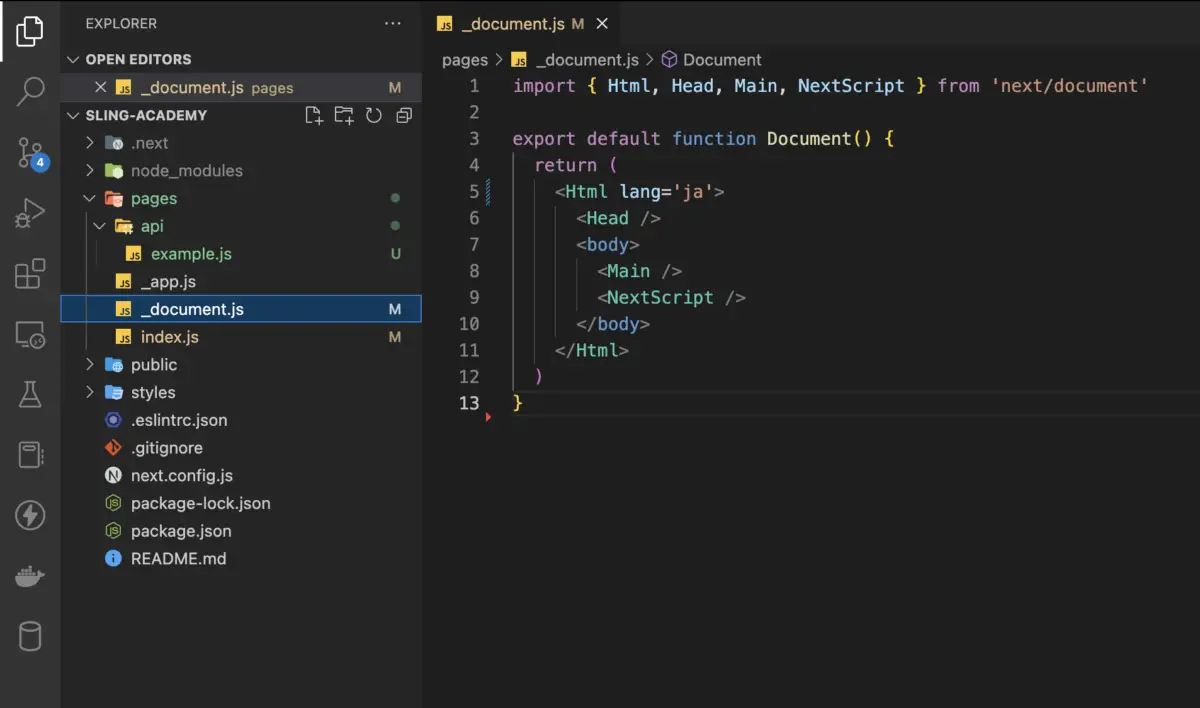
1. In the pages folder of your project, create a new file called _document.js if it doesn’t exist (or _document.ts if you’re using TypeScript). The name must be absolutely correct.
2. Add the following code to _document.js:
import { Html, Head, Main, NextScript } from 'next/document'

export default function Document() {
  return (
    <Html lang='ja'>
      <Head />
      <body>
        <Main />
        <NextScript />
      </body>
    </Html>
  )
}
Replace ja (this is the English code) with the language code, you want. You should keep all other things unchanged. The <Html>, <Head/>, <Main/>, and <NextScript /> components are required for the page to be properly rendered.
File structure:
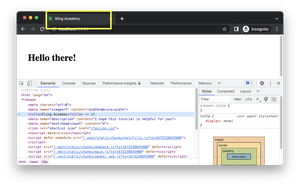
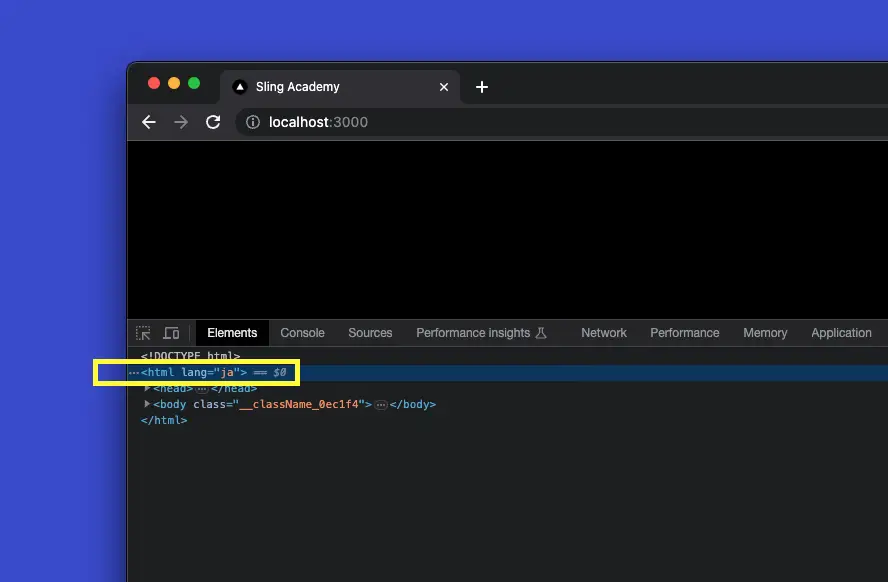
3. Now boot your app up and use Chrome DevTools to check the result:
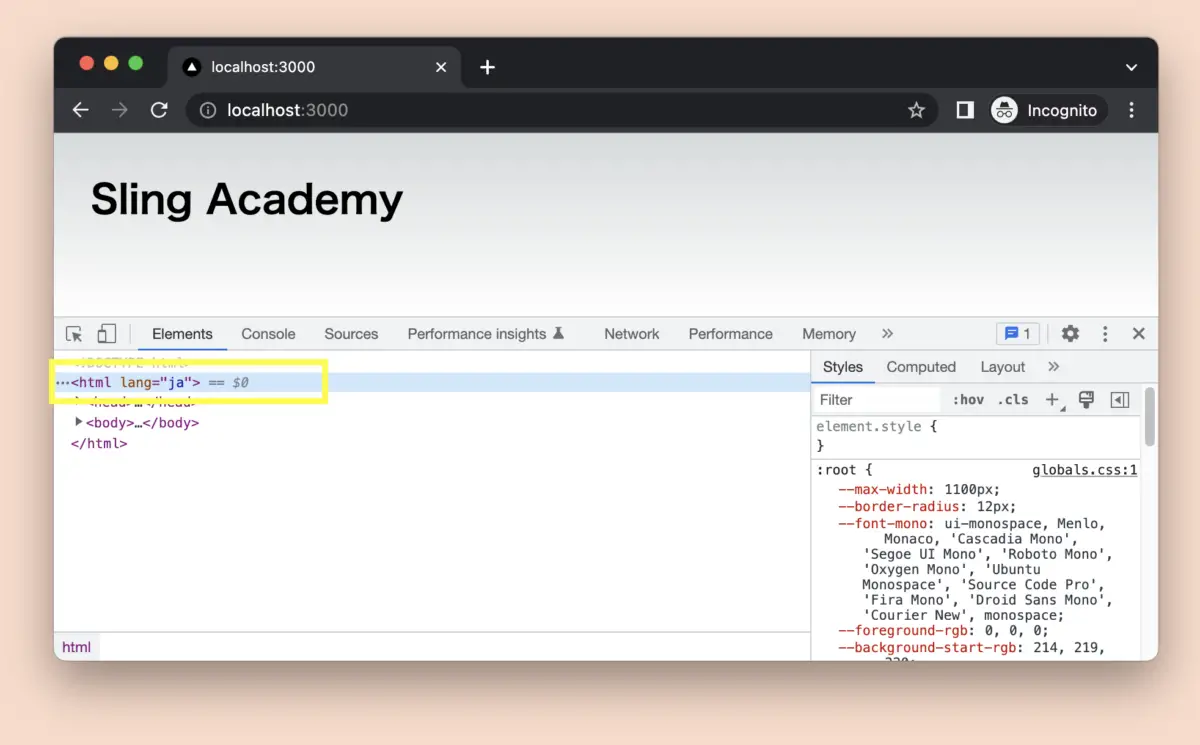
That’s it. If you find something missing or outdated, please comment. We are happy to hear from you.