This article shows you 2 ways to set page titles and meta descriptions in Next.js. The first approach is only available for server components in Next.js 13 and above (with /app directory), while the second one works well with older versions of the framework (with /pages directory).
Using Metadata API
Static title and meta description
To define static metadata, export a Metadata object from a layout.tsx or static page.tsx file:
// app/layout.tsx
import './globals.css';
import { Metadata } from 'next';
import { Inter } from 'next/font/google';
const inter = Inter({ subsets: ['latin'] });
export const metadata: Metadata = {
title: 'Sling Academy',
description:
'This is a meta description. Welcome to slingacademy.com. Happy coding and have a nice day',
};
export default function RootLayout({
children,
}: {
children: React.ReactNode;
}) {
return (
<html lang='en'>
<body className={inter.className}>{children}</body>
</html>
);
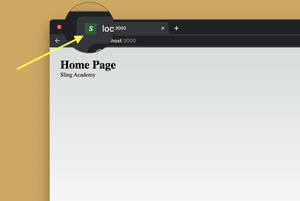
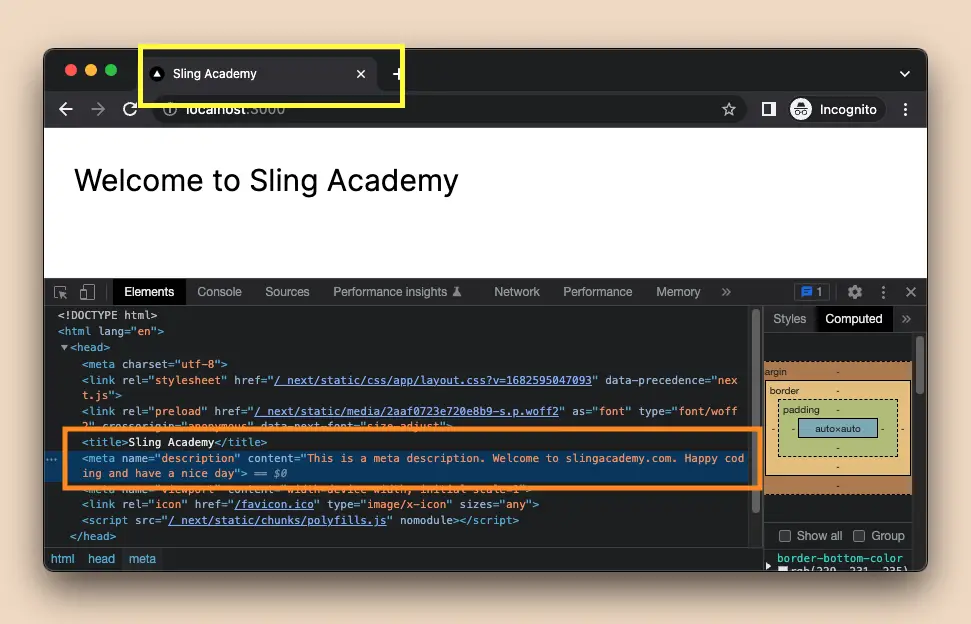
}Screenshot:
Dynamic title and meta description
In case you want to use dynamic information to set page title and meta description (for example, use data fetched from an API), use the generatedMetadata() function:
export async function generateMetadata({ params }: Props): Promise<Metadata> {
  // read route params then fetch data

  // return an object
  return {
    title: blogPost.title,
    description: blogPost.description,
  };
}
In the complete and working example below, we will fetch a dummy blog post by its ID from this public API:
https://api.slingacademy.com/v1/sample-data/blog-posts/[id]The detailed information on this API is described on this page: Sample Blog Posts – Public REST API for Practice.
Let’s see how we implement the generateMetadata() function in action. In the app directory of your project, add a folder named blog-posts, then inside that folder, add another new folder named [id]. Create a file called page.tsx inside the [id] folder.
// app/blog-posts/[id]/page.tsx

import { Metadata, ResolvingMetadata } from 'next';

type Props = {
  params: { id: string };
};

// set dynamic metadata
export async function generateMetadata({ params }: Props): Promise<Metadata> {
  // read route params
  const id = params.id;
  const url = 'https://api.slingacademy.com/v1/sample-data/blog-posts/' + id;

  // fetch data
  const data = await fetch(url).then((res) => res.json());
  const blogPost = data.blog;
  console.log(blogPost);

  return {
    title: blogPost.title,
    description: blogPost.description,
  };
}

// page content
export default function Page({ params }: Props) {
  return (
    <></>
  );
}
Now go to http://localhost:3000/blog-posts/2 and see the result (you can change the ID to get another blog post):
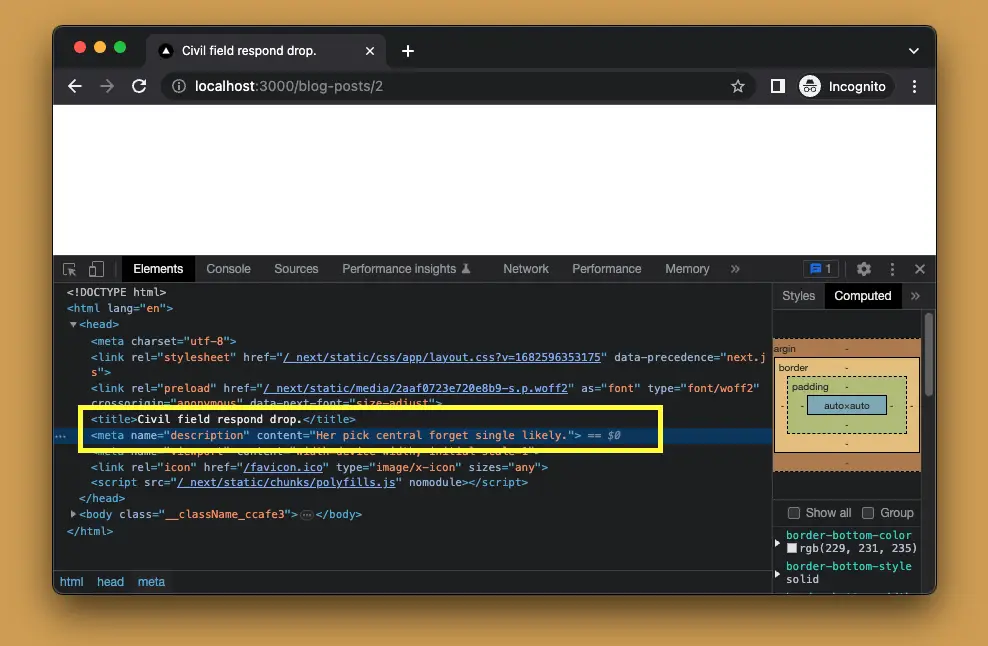
Note that you cannot export both the metadata object and generateMetadata() function from the same route segment.
Another important point is that in pages and layouts, you can freely fetch data where it’s used without the need to worry about performance. Next.js will automatically dedupe requests in a tree. For example, it doesn’t matter if you send 2 GET requests to the same API endpoint in the 2 files layout.tsx and page.tsx to get the same data.
Using the Head component
In Next.js, you can set the title, description, and other metadata for a page by using the <Head> component. Import it like this:
import Head from 'next/head'Static metadata
The code:
// pages/index.js
import Head from 'next/head'
export default function Home(props) {
return <>
<Head>
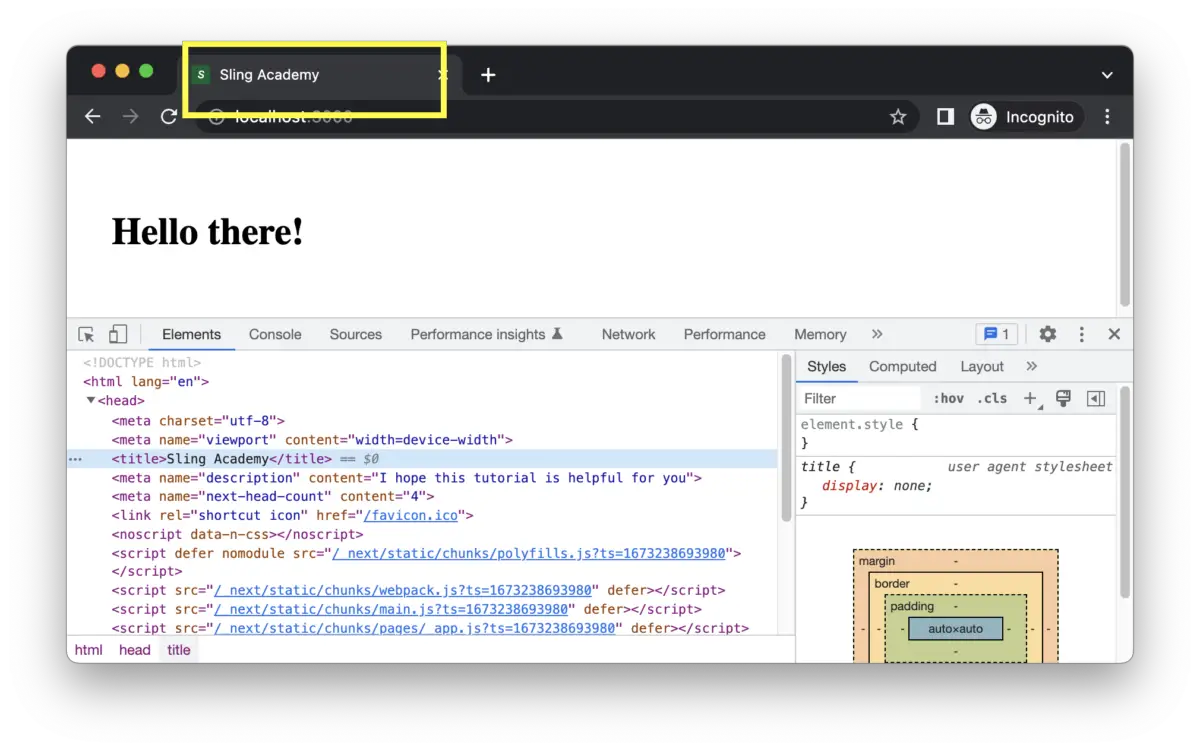
<title>Sling Academy</title>
<meta name='description' content='I hope this tutorial is helpful for you' />
</Head>
<div style={{ padding: 30 }}>
<h1>Hello there!</h1>
</div>
</>
}Output:
Dynamic Routes & Dynamic Metadata
You can fetch data from a backend by using getStaticProps, getStaticPaths, or getServerSideProps and use this data to set the page title and description like this:
// pages/[id].js
import Head from 'next/head'

const Product = (props) => {
    const { title, description } = props;
    return <>
        <Head>
            <title>{title}</title>
            <meta name='description' content={description} />
        </Head>

        {/* page content here */}
        <div>
            {content}
        </div>
    </>
}

export default Product

export async function getServerSideProps(context) {
    // Retrieve id
    const { params } = context;
    const id = params.id;

    // Fetch data
    const result = await fetch(`[your API]/${id}`);
    const data = await result.json();

    return {
        props: {
            title: data.title,
            description: data.description,
            content: data.content
        }
    }
}Note: This isn’t a complete example. You need to make the necessary changes for it to work (use your own API URL, inspect data structure, etc.).
Setting Global Metadata
If you want to set the same metadata for all pages, you can put a component in pages/_app.js like this:
// pages/_app.js

import '../styles/globals.css'
import Head from 'next/head'

function MyApp({ Component, pageProps }) {
  return <>
    <Head>
      <meta name="author" content="John Doe"/>
    </Head>
    <Component {...pageProps} />
  </>
}

export default MyAppNote: If you have multiple <Head> components on a page and its child components, Next.js will automatically merge their content, and your app will never crash because of conflict. The latest values would be used.
Congratulations! You’ve learned how to use <Head> to set the title and description for a page in Next.js. Happy coding, and have a nice day!